Overview
With the Execute AI Agents in Form Actions feature, you can make use of AI Agents in a Form in a running process.
This feature integrates the use of Artificial Intelligence with the execution of Form Actions so that you can customize the actions needed in your business process.
This article explains the step-by-step of how to configure the AI Agent in the form actions through the example of the Agent that describes an image file.
Process Model
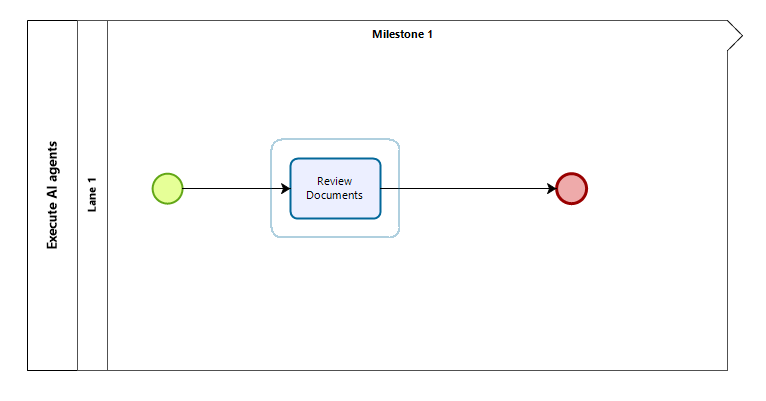
The following is the example process, which has only a Review Documents activity:
Data Model
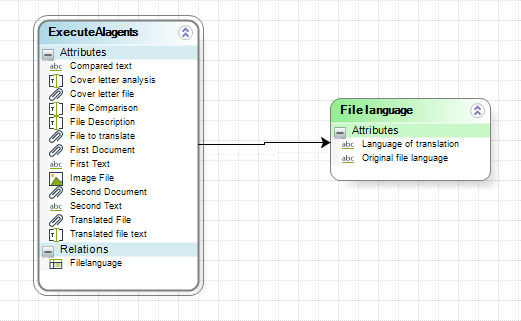
The following data model includes the necessary attributes for the Review Documents activity. The controls that display the Agent's response should be modeled as extended String attributes to view a complete response.
Configuration of AI Agents in Form Actions
In this process, buttons are implemented as the executors of AI Agent actions. When the files have been loaded and the Agent buttons are clicked, the execution of the file analysis is triggered.
Each Form container includes controls that represent the fields where the files are loaded, a button that executes the Agent and finally, a field where the result is printed.
To configure the AI Agent in the Form Actions, follow these steps:
1.In the third step of the Process Wizard-Define Forms, select the task where you will create the Form.
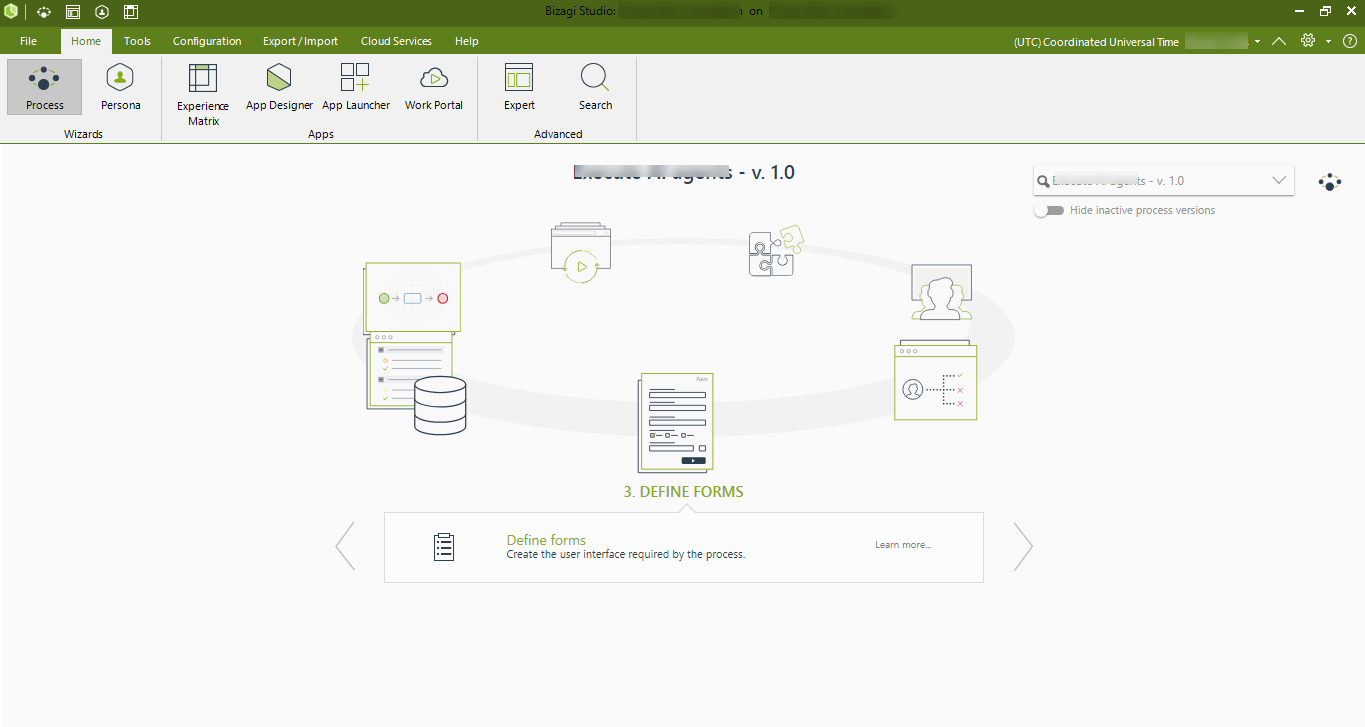
2.Build the File description form, including the necessary controls as shown in the following image:

3.Once you have created the form, access the Actions and Validations menu and click the Add New Action button.
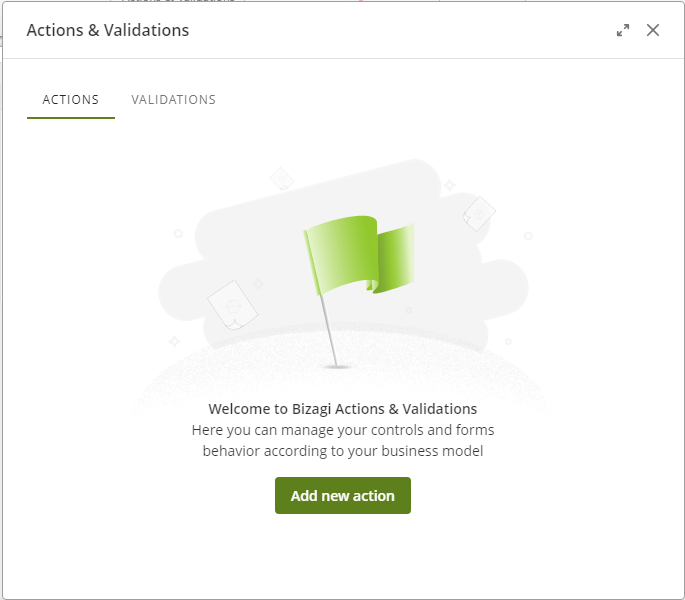
In the Actions and Validations window, the necessary conditions for the Agent to be executed are configured in the If section and in the Then section, the configuration of the IA Agent when choosing the Execute Agent option.
In the If section, the necessary conditions for the Agent to be executed are the following:

Then, in the Then field select the Execute agent option.
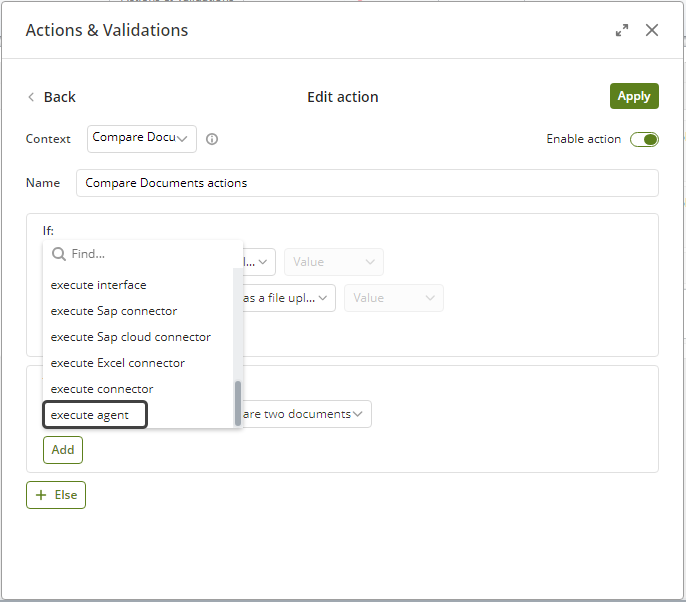
4.Next, select the Value field where you will configure everything related to the AI Agent.
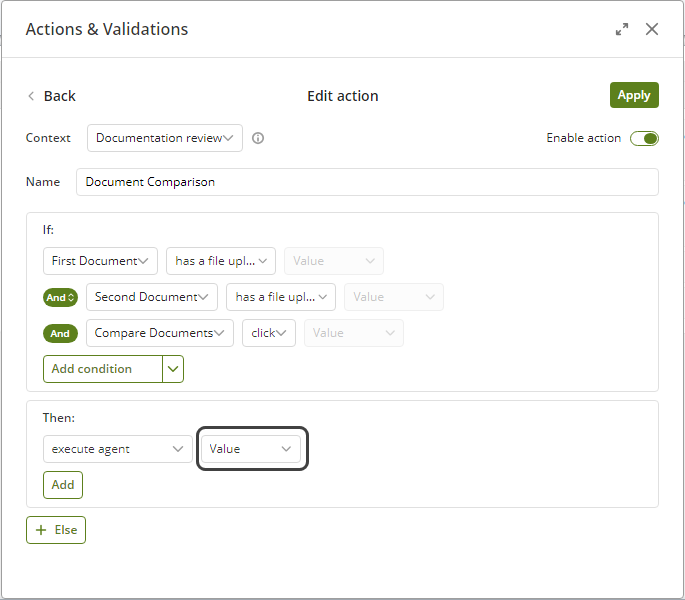
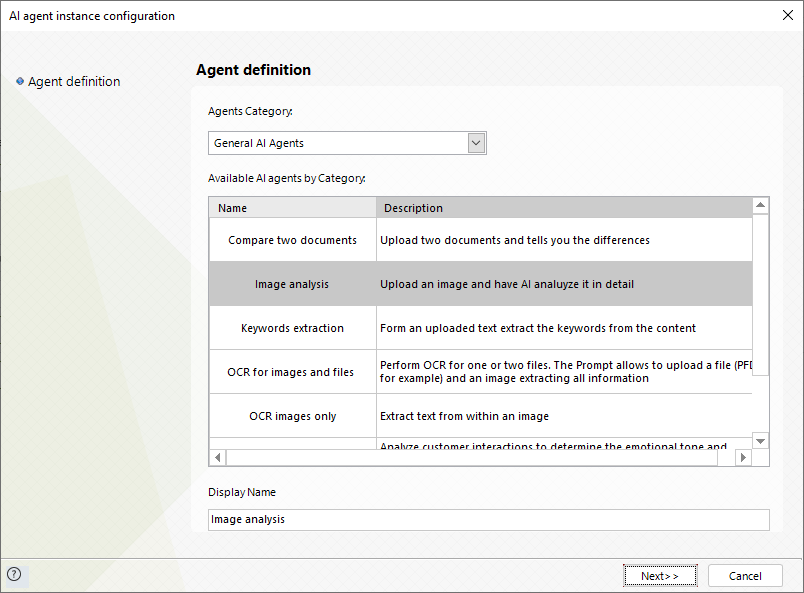
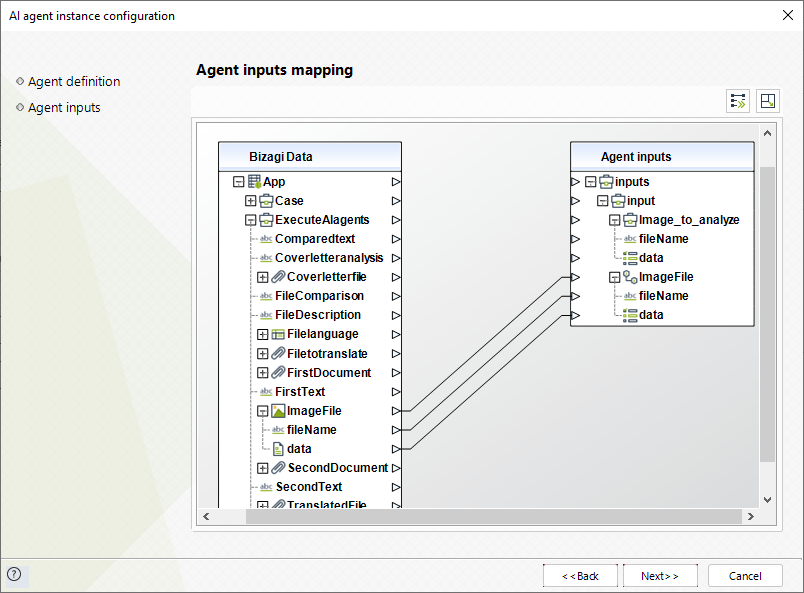
5.In the AI Agent instance configuration window, three settings need to be made: select the Agent that will perform the action in the Agent Definition step, map the inputs that the Agent receives in the Agents Inputs step, and finally, map the outputs produced by the Agent in the Agent Outputs step.
•Agent definition: Select the category to which your existing AI Agent belongs. A list of AI Agents you have previously created will appear, along with their respective Name and Description. In the following image we use as an example the Agent that describes an image file.
•Agent Inputs: In this step, the data input parameters that the Agent will receive and with which it can execute its task must be related.
•Agent Outputs: In this step the output data parameters produced by the Agent are related and inserted in the attributes of the data model.
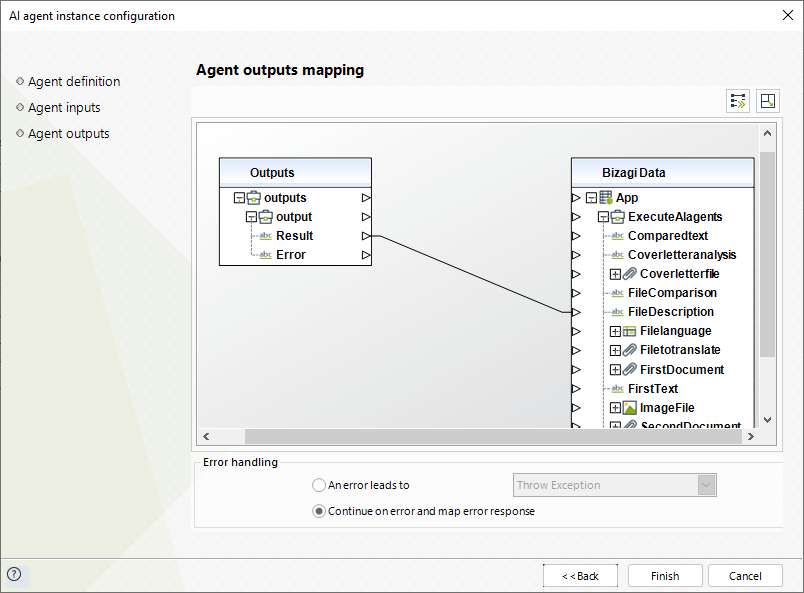
6.Once you have completed the mapping, configure the Form Action button to update the information and display the Agent's response on the control.
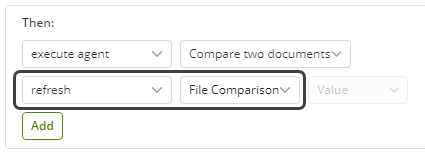
7.To finalize the configuration of the Form Action, click the Apply button, and in the Actions and Validations window, click the Save button.
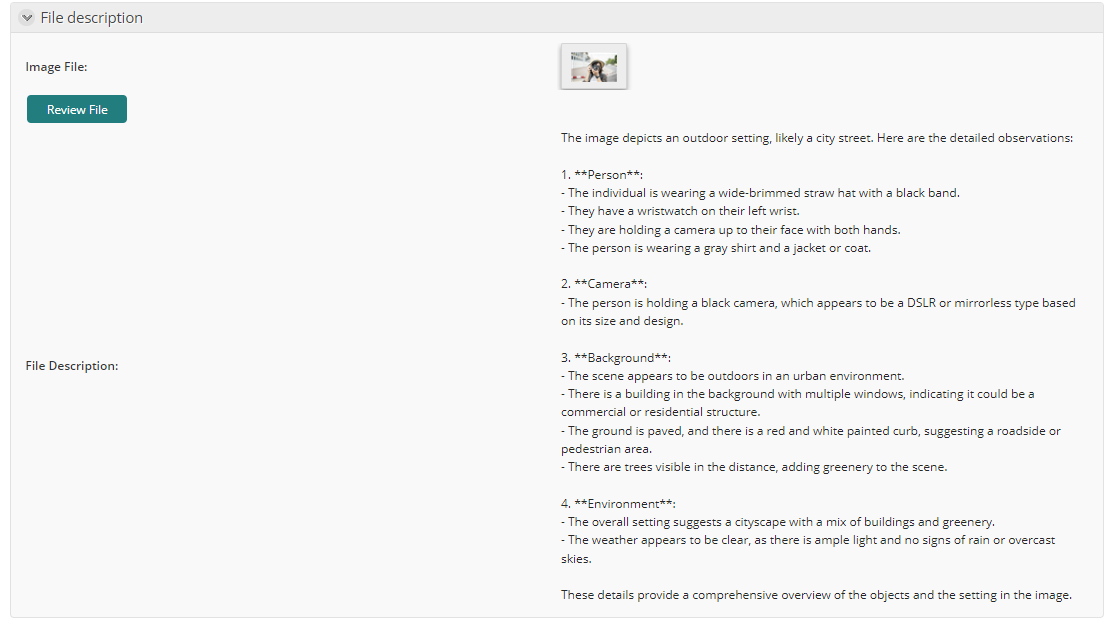
8.Now you can test the feature in the Work Portal. Once you open a case, load the files in the container and click the button to executes the Agent which displays a result like the following:
Last Updated 10/28/2024 3:27:36 PM