Overview
When you have published an AI experiment, you can easily configure a Bizagi process to consume its AI predictive analysis services so that you can obtain a prediction whenever you input initial information for a case.
This lets your processes use a default or suggested value.
For introductory information on Bizagi Artificial Intelligence, refer to Bizagi Artificial Intelligence.

This section describes how to set your Bizagi processes to consume the predictive analysis service.
Before you continue
These steps assume that you already have:
1.Defined a process in Bizagi.
No special considerations are needed for the process, and you would implement it just as you would any process in Bizagi.
However, it is expected that the process works with a set of data which matches the data structure employed by the AI experiment.
For information on Bizagi basics, about how to implement processes with Bizagi Studio, refer to:
http://help.bizagi.com/bpm-suite/en/index.html?process_wizard.htm.
2.Clearly identified where in the process, you capture initial information and would like to have Bizagi suggest a prediction to the user.
3.Created and published an AI experiment with satisfactory results.
For more information about this step, refer to Working with AI experiments.
What you need to do
To have your Bizagi process connect to the AI experiment, carry out these steps:
1.Download the AI experiment connector.
2.Obtain the service endpoint and its access keys to use with the connector.
3.Configure the connector in Bizagi Studio.
Example
Assuming we have a Healthcare-centered process in Bizagi which has an activity where patient information is captured (Perform Triage), we rely on the prediction services to learn whether AI suggests that diabetes in a patient is likely and, if so, suggest that a diabetes test should be conducted when we click the Get suggested exams... button:

Business information that is captured during the initial activity to be sent to the predictive services include: Number of times pregnant, Plasma glucose concentration at 2 hours in an oral glucose tolerance test, Diastolic blood pressure, Triceps skin fold thickness, 2-Hour serum insulin, Body mass index, Diabetes pedigree function, and Age in years.
We display the result in the field called Diabetes test suggested? (a string type field).
Procedure
Once you have the AI experiment published, follow these steps:
1. Download the AI experiment connector.
In the published AI experiment, click View connectivity info and then click Download Prediction Connector:

A .bizc connector file is downloaded to your machine, where you can choose to rename it:
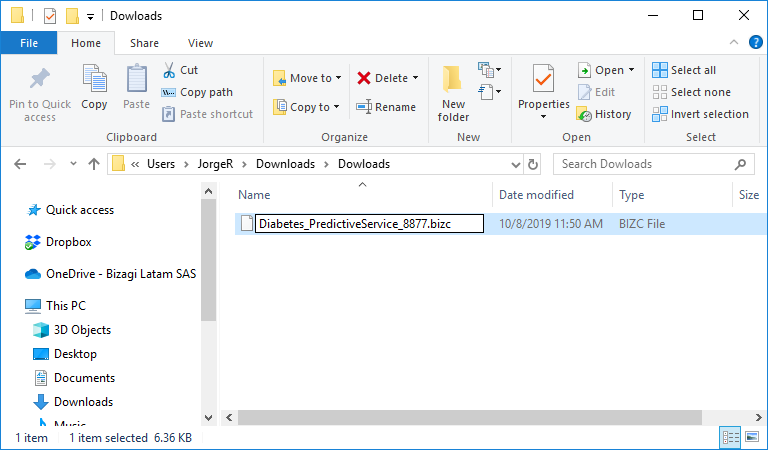
|
If the download does not start automatically, you may need to make sure that pop-ups and downloads are authorized in your browser settings for the URL of your Bizagi Artificial Intelligence portal.
|


2. Obtain the service endpoint and its access keys to use with the connector
To prepare for next steps in the connector's configuration,copy the service endpoint and access keys as provided in the connectivity info.
Copy the following parameters:
•Use your predictions (URL of your model): URL to consume the experiment published.
You can use the Copy URL button for this.

•User Name and Password:
You can use the Copy buttons for this.

|
DO NOT use the Generate new keys option unless you are certain you want to generate new access keys and eliminating existing ones. Once you eliminate existing access keys, you cannot look them up, or use them. Any connector's configuration or application already using the existing pair of keys would no longer be able to connect to the service endpoint. |
3. Configure the connector in Bizagi Studio.
The final step configures the Bizagi connector in the relevant point of your process.
You need to manually install the connector by uploading the .bizc file (as with any other connector and as described at http://help.bizagi.com/bpm-suite/en/index.html?connectors_setup.htm):
Therefore, install the .bizc connector file you downloaded in the first step:

To install the connector, provide:
•In the Connector parameters, the URL of your model as copied in the previous step.
•For Basic authentication, the copied Access keys 1 and 2, as username and password respectively.

|
Configuration lets you use different URLs for different project environments (development, testing and production).
Use the appropriate URLs of the different experiments and environments (that is, use the experiment's URL for the Testing environment in the Development and Test tab of the connector setting, and use the experiment's URL for a Production environment in the Production tab of the connector setting). |
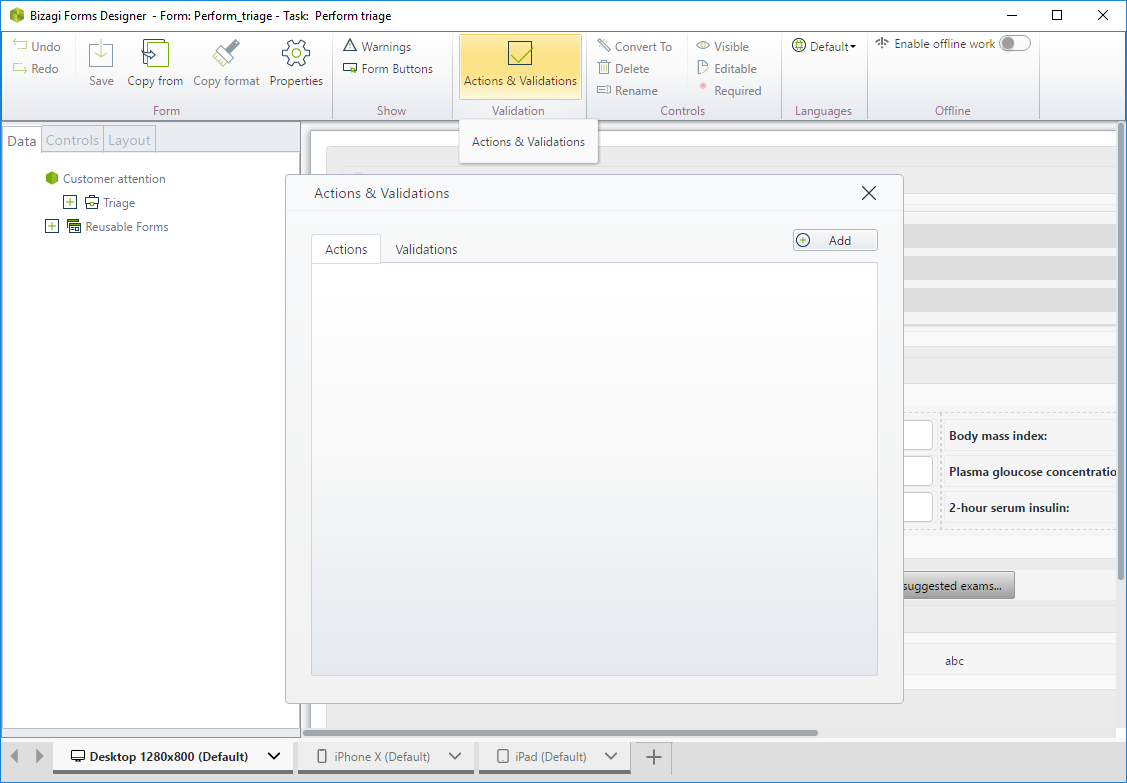
To configure the actual use of the connector for this example, edit the Perform Triage activity so that its Get suggested exams... button invokes a connector.
To do this, open the form and click Actions & Validations. Click Add to create a new action:
For that new action, specify that whenever the button is clicked, it should:
1. Execute a connector.
2. Refresh the field that displays the result (in this example, the field name is Diabetes possible outcome?).
Click argument for the Execute a connector action to configure the connector's URL, inputs and outputs:

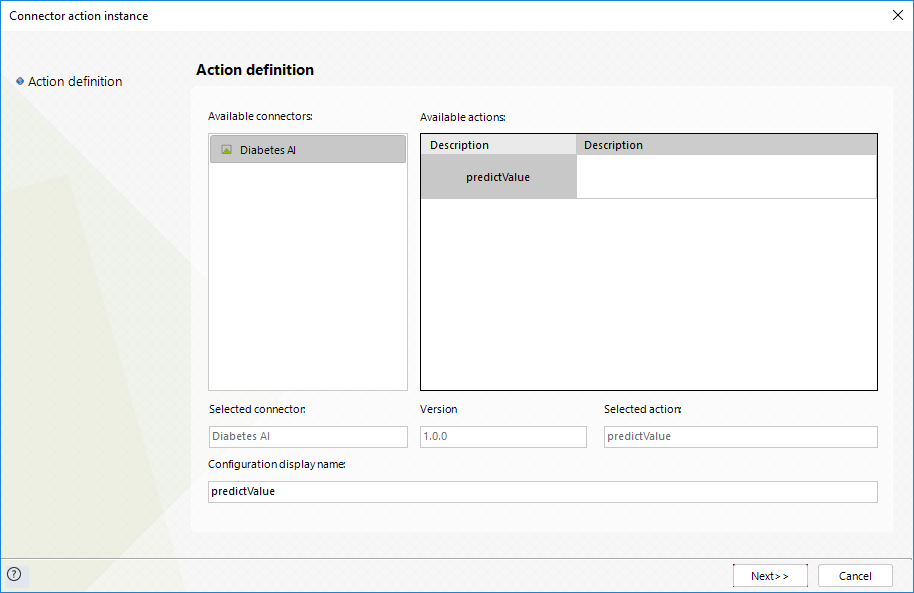
Set the configuration as shown below:
•Select the PredictValue action:
•Map the relevant information as inputs to send to the AI service (Number of times pregnant, Plasma glucose concentration at 2 hours in an oral glucose tolerance test, Diastolic blood pressure, Triceps skin fold thickness, 2-Hour serum insulin, Body mass index, Diabetes pedigree function, and Age in years):

•Map result into the field of the Bizagi's data model that stores the prediction (Diabetes possible outcome? in our example):

Click Finish and you are set.
At this point. you can run your process. For a new case, once the user provides the initial information and clicks Get suggested exams..., a prediction appears:

|
The AI service is a RESTful service which can support multiple processes. You can configure other processes, including those in applications not supported by Bizagi, to rely on this service, provided of course that they handle a similar data structure. When you have non-Bizagi applications consume the service, use the same access keys, and configure your application to target that same RESTful service URL (the service endpoint). |