Overview
When you have created an AI experiment, as described in Creating models and experiments, you see its basic properties and the diagnosis steps.
This section describes how to work with an experiment, and explore its possible combinations of input parameters and algorithms so you can assemble the experiment that provides results that satisfy your use case statement.
Experiment configuration
When you have created an AI experiment, you see its basic properties (Name, Description and source Dataset). You need to perform four further steps to enable predictive analysis.
The steps are Predicted Feature, Feature Selection, Train model and Summary Prediction Model.

Example
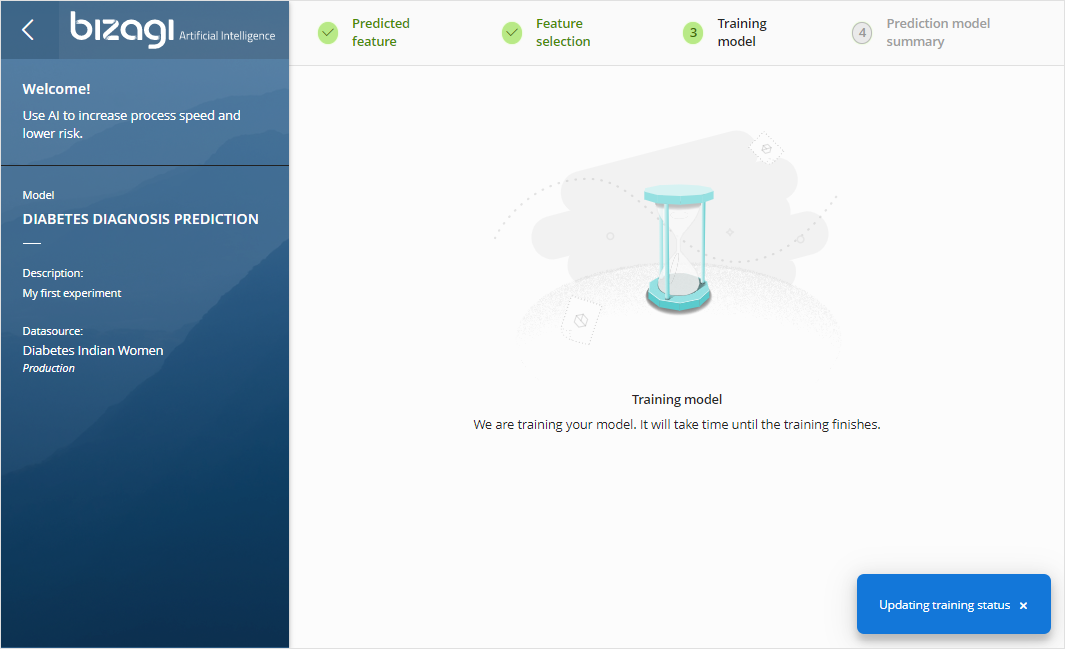
For the experiment shown above, input data was created in a Dataset called Diabetes Indian Women.
Records in this Dataset help determine if diabetes results will be positive for a given patient, based on the information held in the testresult attribute/variable, as shown in the column presented below:

The actual data was taken from the National Institute of Diabetes and Digestive and Kidney Diseases, and it includes attributes/variables such as:
•Number of times pregnant (shortened to pregnant).
•Plasma glucose concentration a 2 hours in an oral glucose tolerance test (shortened to plasma).
•Diastolic blood pressure in mm Hg (shortened to bpressure).
•Triceps skin fold thickness in mm (shortened to skinthickness).
•Two Hour serum insulin in mu U/ml (shortened to 2h_insulin).
•Body mass index (shortened to BMI) weight in kg/(height in m)^2.
•Diabetes pedigree function (shortened to diabetespf)
•Age in years (shortened to years)

Step 1: Predicted Feature
The Predicted Feature step lets you select the attribute you want to predict (which relates to your use case statement).
For the example described above, we want to predict (based on other variables) whether diabetes could be accurately suspected before running tests.
Select the name of the attribute to predict in the drop-down list.
Selecting testresult makes it become the predicted feature:

Click Continue when you are ready.
Step 2: Feature Selection
The Feature Selection step lets you mark attributes which you consider relevant and directly influencing for your predicted feature.
In the example described above, we want to identify which variables have a relationship with diabetes (for either a positive or negative diabetes result).
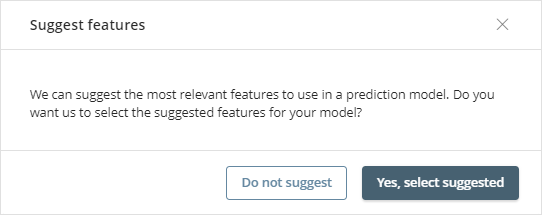
The first time you select features, Bizagi Artificial Intelligence offers to automatically mark and highlight features identified as relevant.
You can also check or uncheck significant attributes to make them selected features (i.e predictors).
You can for example, uncheck the checkbox for age, if you think that age should not be taken into account by the analysis.

Though you can see sample data for each feature, at any time you can switch to Customize Features for an in-depth analysis or to modify how the application treats the values of the features.
Further options are available to help you make an informed decision on feature selection:
•Modify the data type per feature.
•Define how to replace empty values per feature.
•Look up a values distribution chart per feature.
Modifying the data type
In this step, you can edit the data type identified by Artificial Intelligence.
Available data types are: Numerical, Categorical, or Date.

Defining how to replace empty values
In this step, you can also decide if you want to replace empty values with a default value:

You can set empty values (those shown as null) to use Zero (0), the Average value of the whole, the Most frequently used value, or as defined by you (User defined).
Looking up a values distribution chart
In this step, you can click the  icon for a given feature and view a chart representing how its data is distributed:

Step 3: Training Model
When you are done with the experiment's configuration, click Train Model to have the Artificial Intelligence capabilities interpret the data and generate the model that presents a given certainty.
Bizagi Artificial Intelligence chooses the best algorithm for your specific use case statement and carries out machine learning analysis steps such as training the model.
Step 4: Prediction model summary
When the model finishes its training, the results appears in this step. For this example above where we are determining whether a diabetes result (true or false) can be predicted, the analysis yields an accuracy (given that true and false values describe diabetes as a categorical data type):

In a hypothetical case where we want to predict the age of the patient, based on variables such as the patient having diabetes, the analysis would yield a standard error (age has numeric values that we do not want to interpret as a category data type).
Even though age when recorded in years for humans has no infinite values, it could still be considered as continuous, because we would like to get a predicted age while using an offset for that prediction.

Depending on how good the presented certainty is for your use case you can choose to create additional experiments that may provide higher accuracy or a lower standard error.
Testing the experiment
Once a model has been generated, you can click the Test prediction button to manually input sample values and evaluate whether the prediction's certainty is good enough for your use case.
To run the test, input values, selecting them from the drop-down menu (for category data types), or leaving some blank, then click Test Prediction:

Click Repeat prediction to test the experiment again,
At this point you have created an AI experiment. You need to publish it so your Bizagi processes can rely on AI capabilities by using the experiment.
For more information about this next step, refer to Publishing an AI experiment.
Advanced options for data scientists
At any point you can also choose to edit the experiment's parameters in an advanced mode (e.g, for data scientists) to select a different machine learning algorithm.
For more information about the advanced mode, refer to AI experiments advanced options.
External links
If you are looking for sets of data to use as you try out Bizagi Artificial Intelligence, several web sites publish sample data, such as: http://mldata.org/repository/tags/data/earthquakes/.
The data has the structure defined in the Data tab shown at: http://mldata.org/repository/data/viewslug/global-earthquakes/.
Similarly, sets of data can be found at https://archive.ics.uci.edu/ml/datasets.html.