Overview
In a single Document Template you can relate several templates with different content. For each template you can define conditions that will be evaluated in the Work Portal; if the condition is fulfilled Bizagi will generate the document related to that template, otherwise it will be ignored.
To relate several templates to a single Document Template, access the Configuration Wizard by clicking the Configuration Wizard button located in the Basic properties tab of the Document Template control.

The Configuration Wizard will display. To create a new Document Template click the Plus icon located in the upper right corner.
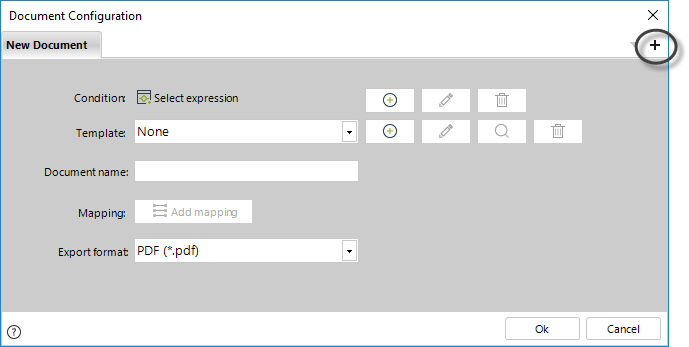
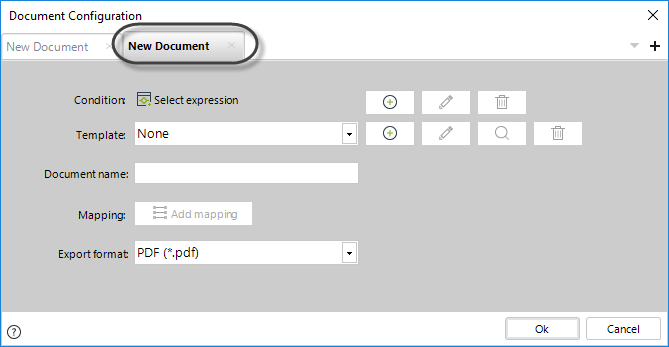
This will create a new tab where you can create a new template. You can add as many templates with different content type as desired.
Example
For the invoice document created in the previous section we are going to configure two templates: one for a customer categorized as a natural person and another for a juridical person classification.
There will be two .docx templates, containing different information, one for each customer classification.

Define each document template indicating Document name, Mapping, Export format and Tags language.
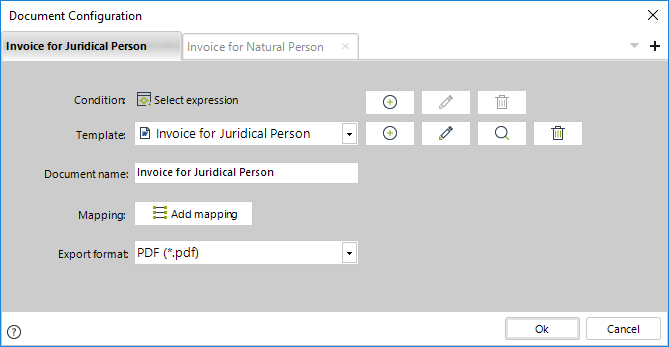
Establish the conditions to generate each document.
If no condition is established, the document will always be generated.
To establish a condition click the Plus button. A Boolean Expression editor will be displayed.
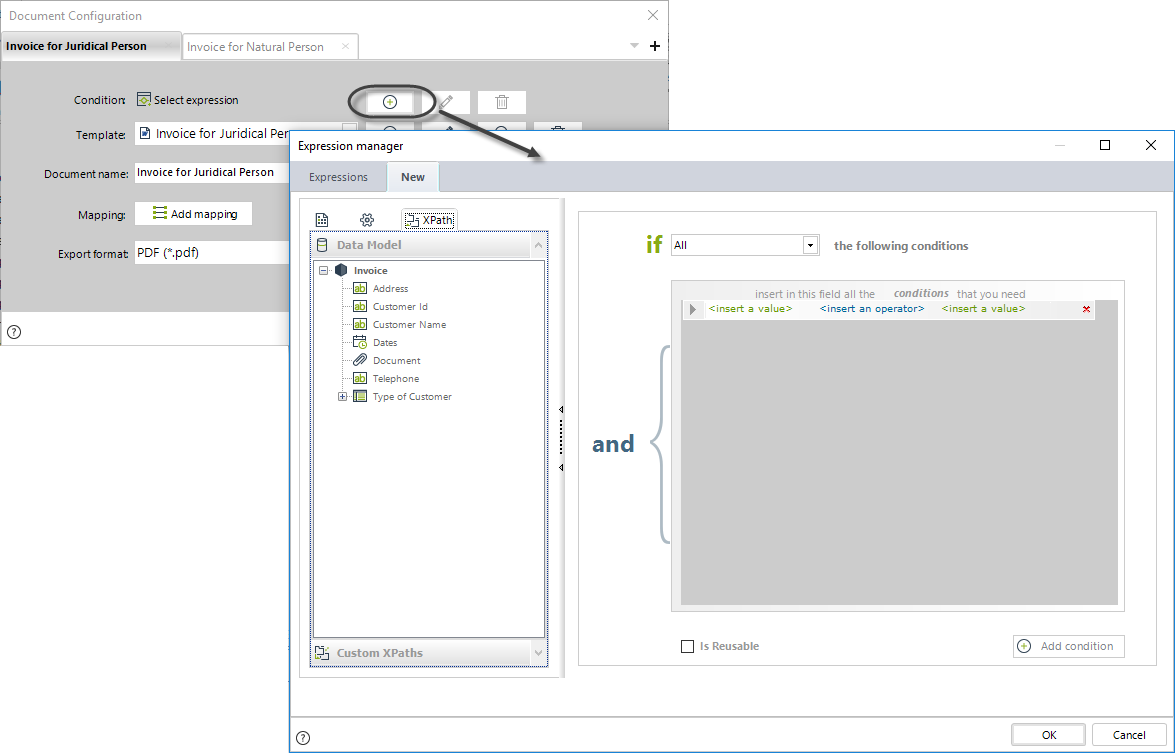
Insert the condition and click Finish.
For our invoice document we identify the type of customer based on a parameter entity called TypeofCustomer.
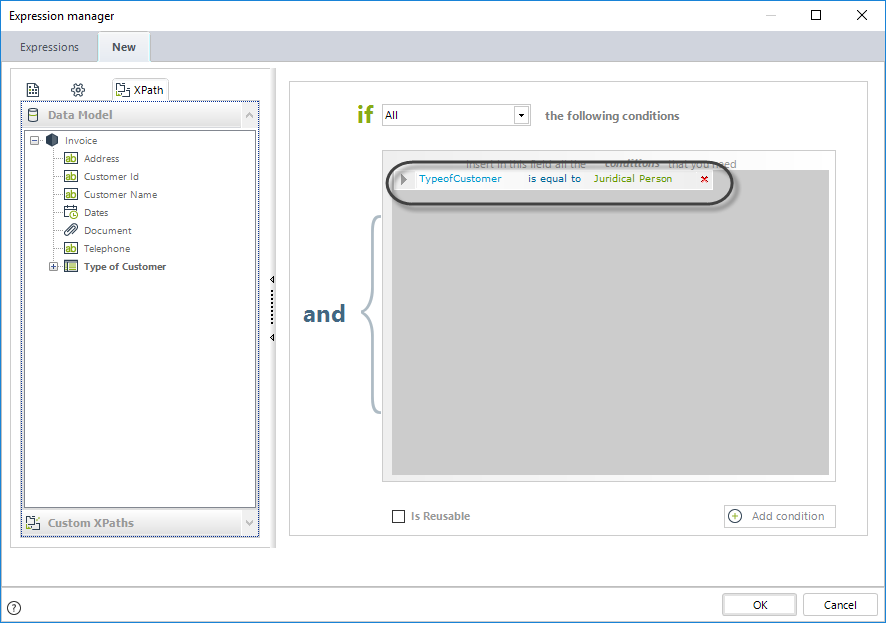
Establish the condition for the other template and click OK to save the changes.
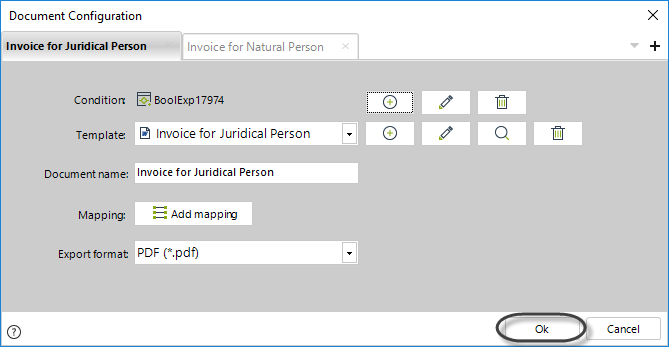
To test the configuration go to the Work Portal and open the task where the document is generated.
Include the necessary information in the fields of the form. Select Natural Person in the Type of Customer drop-down list.
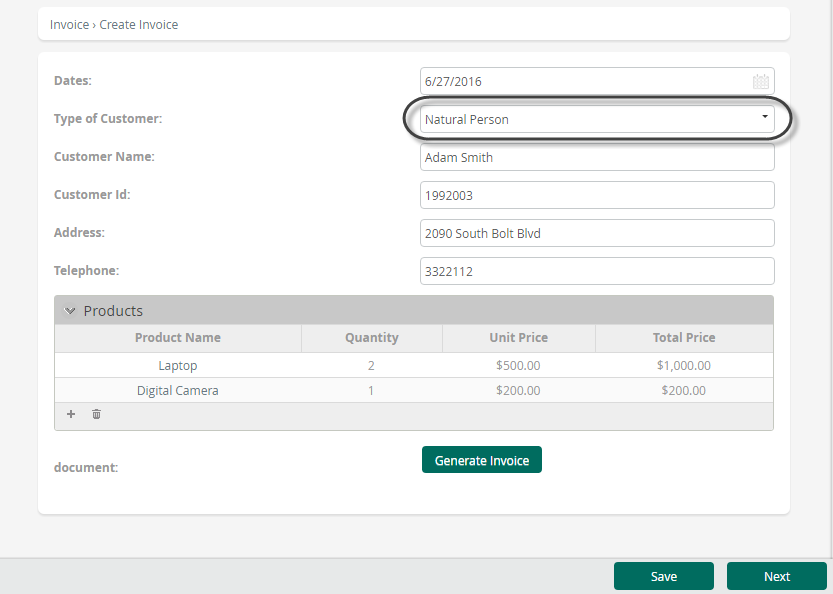
Click the Generate Document button.
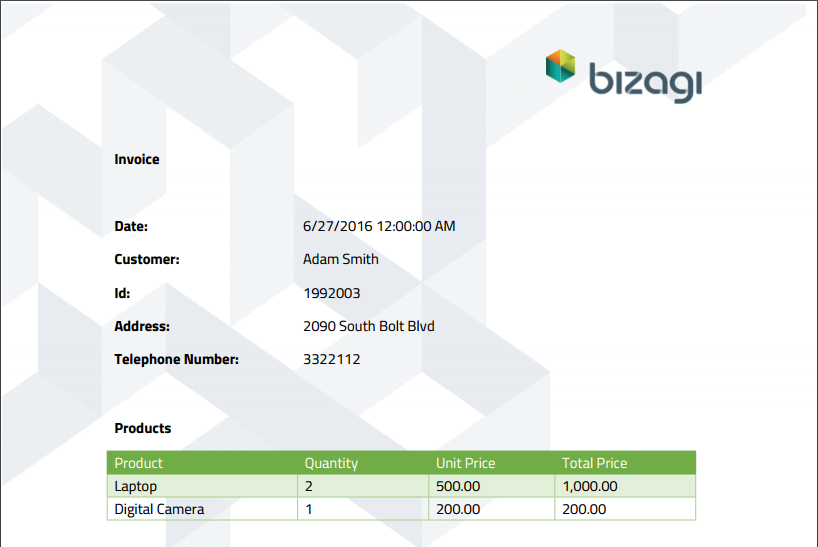
The following image displays the generated document for natural person.
Now select Juridical Person in the Type of Customer drop-down list.
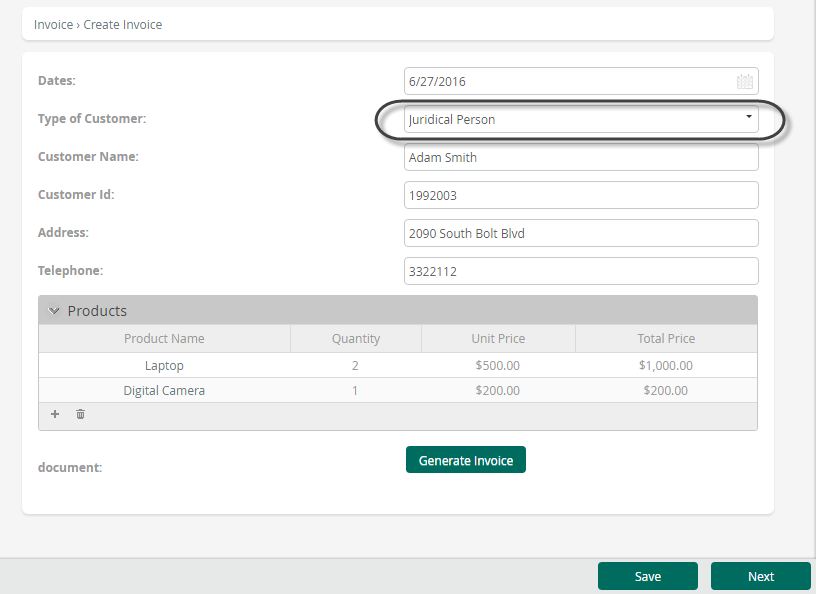
Click the Generate Document button. The following image displays the generated document for juridical person.
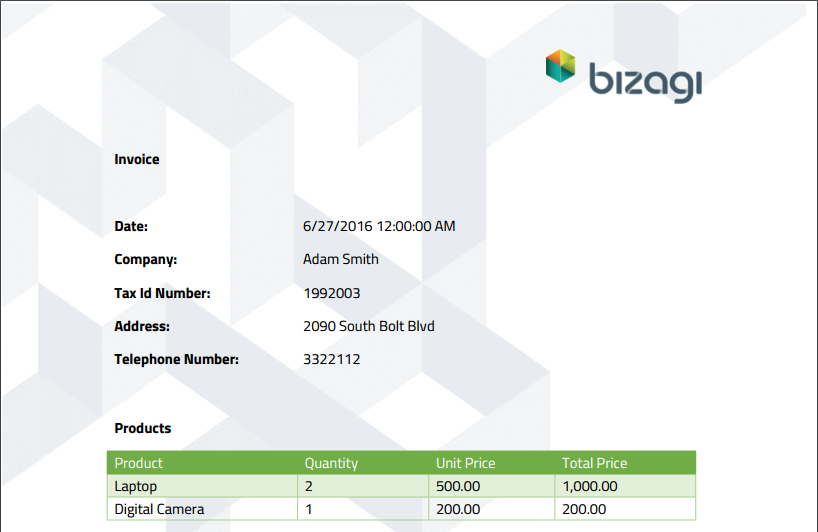
Note the documents were generated based on the templates defined for each type of Customer.
Last Updated 1/23/2023 12:05:10 PM