The Working Time Schema refers to the work schedule. The duration of Activities will depend on the working time schema and therefore, the management of case expiration illustrated on the main screen of the Work Portal.
In Bizagi there are three types of working time schemas created by default:
•Standard: 8:00 AM-12:00 PM and 2:00 PM-6:00 PM from Monday through Friday
•24 hours: 24 hours from Sunday through Sunday
•Night Shift: 11:00 PM-3:00 AM and 4:00 AM-8:00AM from Monday through Friday
Through the Management Console, you can define a customized Working Time Schema for a given user in your Bizagi Project.
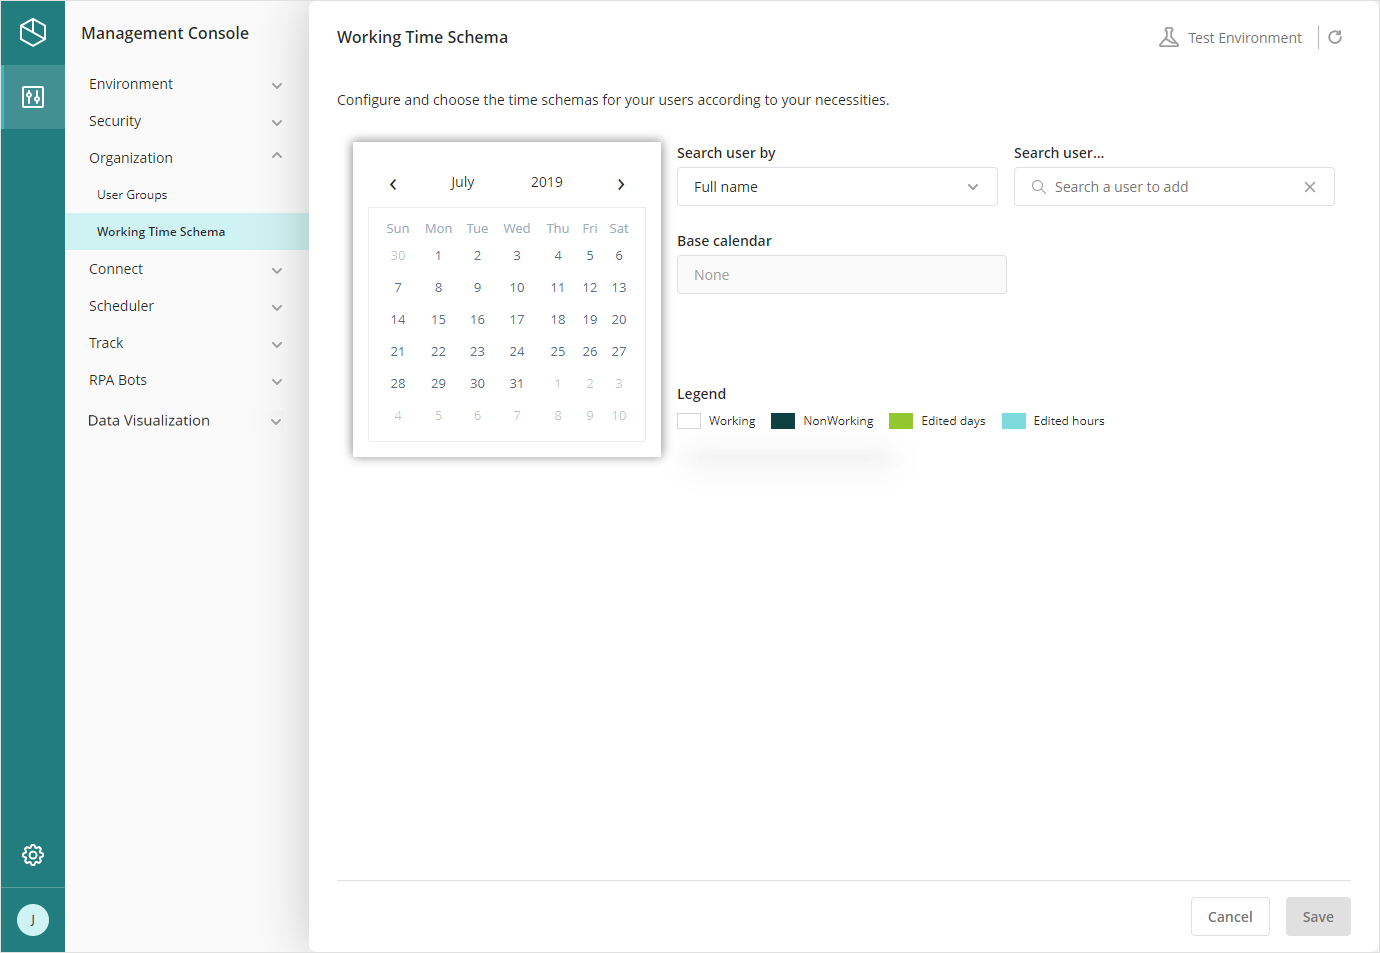
Change the Working Time Schema for a user
You can update the Working Time Schema for a user through the Management Console.
Search for a specific user by using any of the criteria available in the Search user by field (Contact Email, Full name, or User name). Enter the desired filter in the Search user... field.
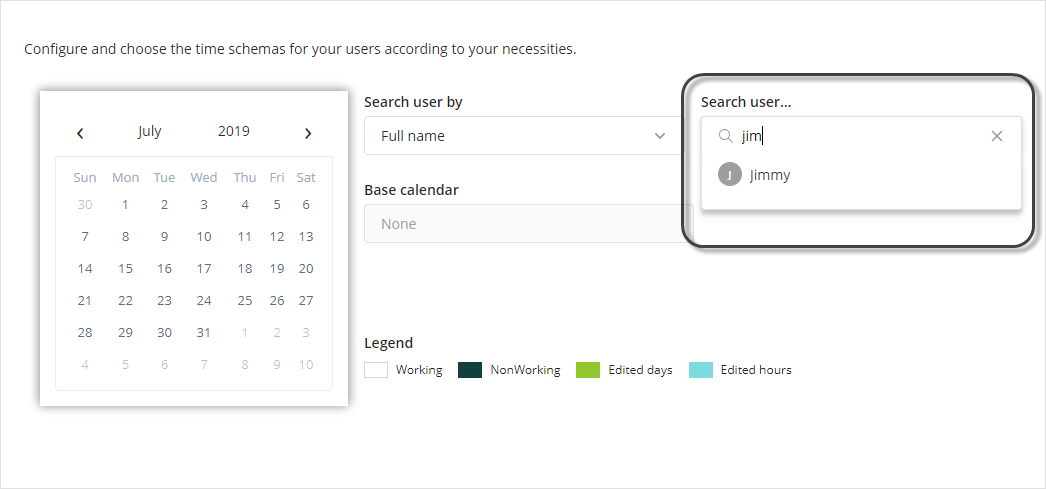
Once you have selected the user, the following tabs appear at the bottom of the screen:
•Additional non-working days: shows the set of days when the selected user does not work.
•Custom working hours: shows the work hours of the selected user for a given date.
•Mandatory base calendar: shows you the set of days when the selected user uses the default Working Time Schedule. The date selected here will override any other configuration defined.
In each tab, you can choose the date by setting one day using the Exact value in the Date type list or setting a frame between two dates using the Range value.
Select the Base calendar you want to update. In this field, Bizagi lists all the calendars you have created in the development phase using Bizagi Studio.
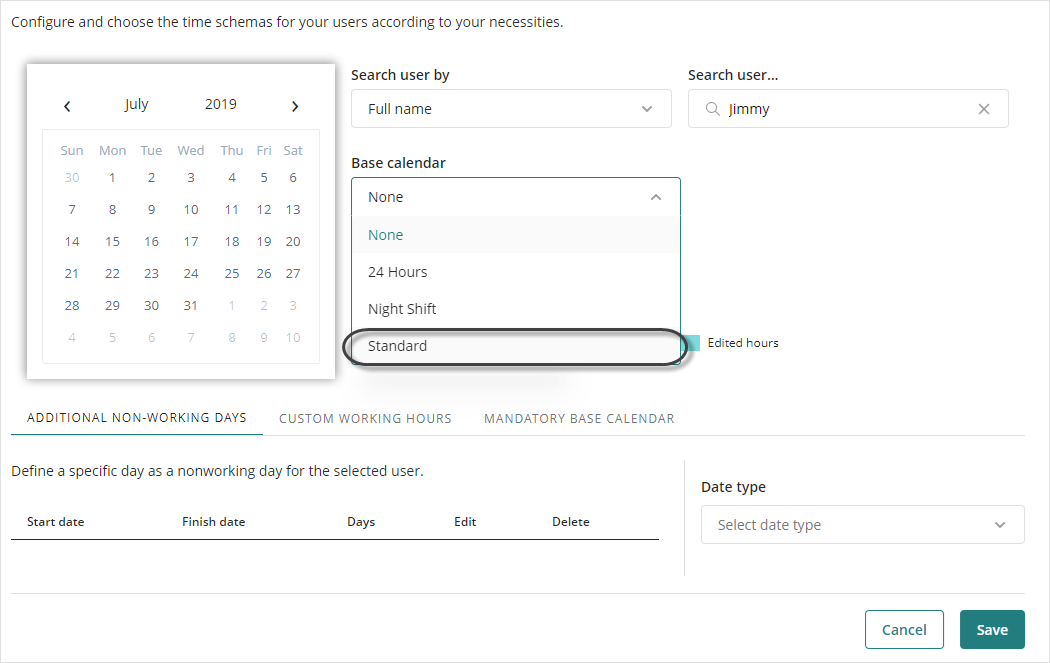
Adding non-working days
To add a non-working day, go to the Additional non-working days tab. This tab is selected by default when you select the user.
In the Date type list, select Exact to add a day and select the day when the user does not work
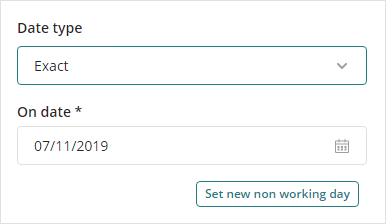
Click Set new non working day to add the day.
Now, let's add a day frame. select Range in the Date type list.
Select the Start and Finish date in the corresponding fields.

Click Set new non working day to add the days.
The days selected as non-working appear both in the table at the left panel in the tab and in the calendar of the page. The non-working days in this calendar appears in green.
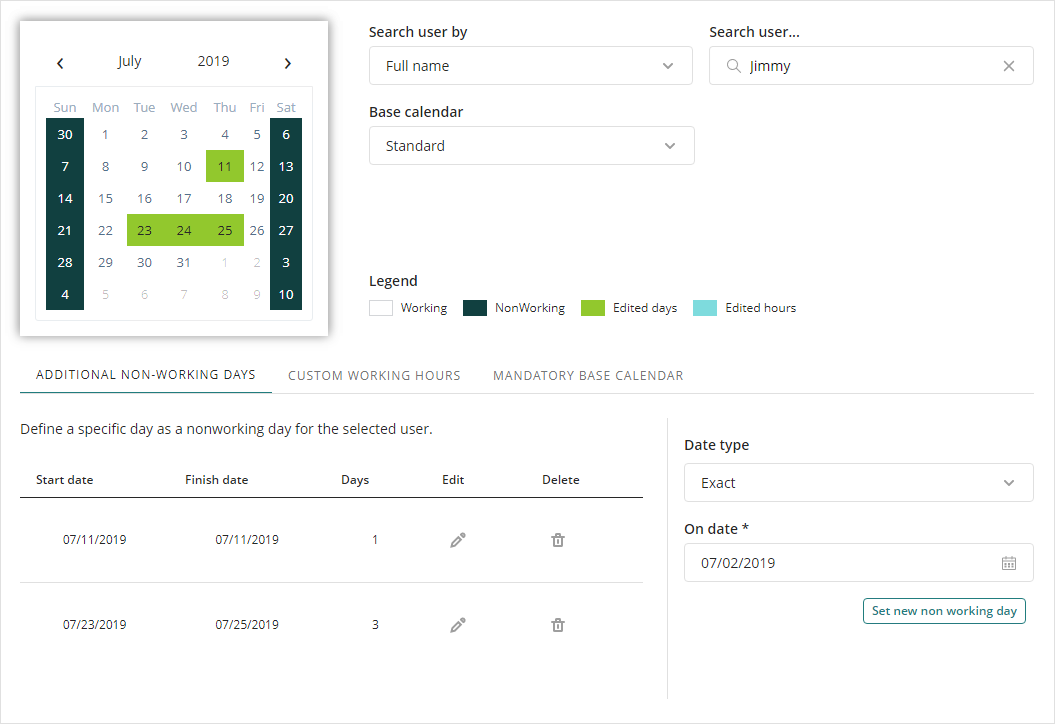
Use the pencil or trash can buttons, to edit or delete the non-working day(s).
Click Save to apply the non-working days.
Adding working hours
This feature lets you set a pattern when the user works. For example, a given user works from 9 AM to 12 PM (morning pattern).
To add working hours, go to the Custom working hours tab.
In the Date type list, select Exact to add a day and select the day when the user works during a period.
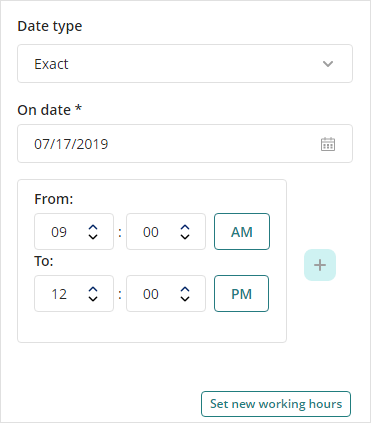
Click Set new working hours to add the day.
Now, let's add a day frame to which this shift applies. Select Range in the Date type list.
Select the Start and Finish dates in the corresponding fields.
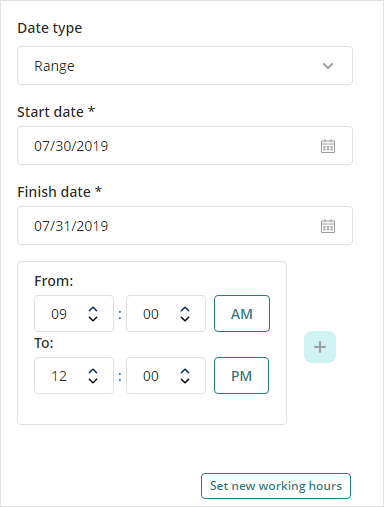
Click Set new working hours to add the days.
The days when the user has the configured schedule appear in the table at the left panel in the tab and the days appear in the calendar of the page. In the calendar at the top, the days with working hours configured appear in mint blue.
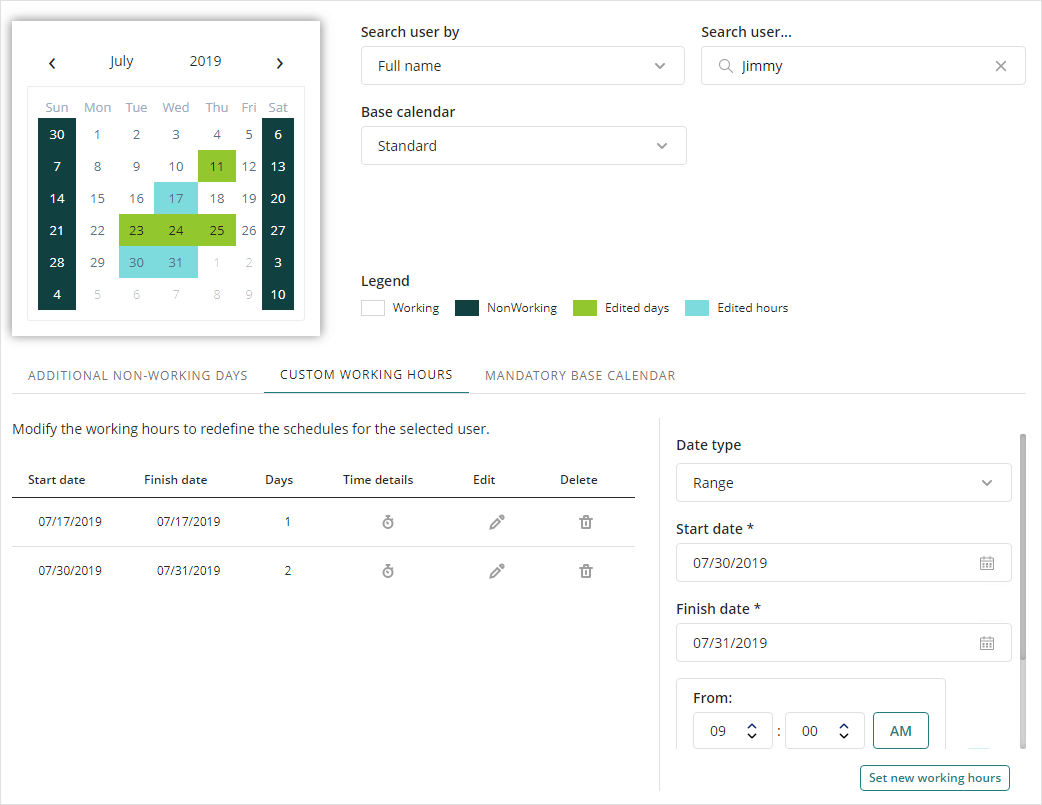
Use the pencil or trash can buttons, to edit or delete the working hours.
Click Save to apply the working hours.
Setting mandatory base calendar
This feature lets you set the days when the selected user uses the default calendar set for the organization or region regardless of the configuration performed in the other two tabs. To add a day where the base calendar overrides other settings, go to the Mandatory base Calendar tab.
In the Date type list, select Exact to add a day and select the day when the user works during a period.
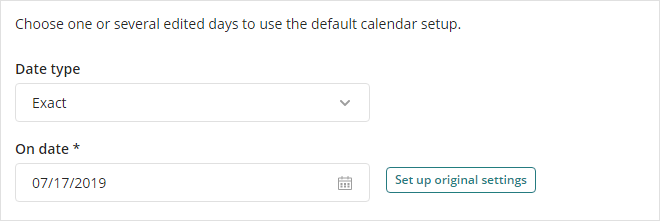
Click Set up original settings to set the day.
Now, let's set a day frame when the default schema is used. select Range in the Date type list.
Select the Start and Finish date in the corresponding fields.

Click Setup original settings to set the days.
In the calendar at the top, the days selected appear in white. This feature behaves the same way as deleting non-working days or working hours.
Last Updated 7/18/2023 9:29:49 AM