Overview
The Maintenance option in the Management Console provides tools for system upkeep. From this option, administrators can use the Maintenance Window to temporarily make the Work Portal unavailable, perform a Full Service Restart of specific services, and configure daily Case maintenance.
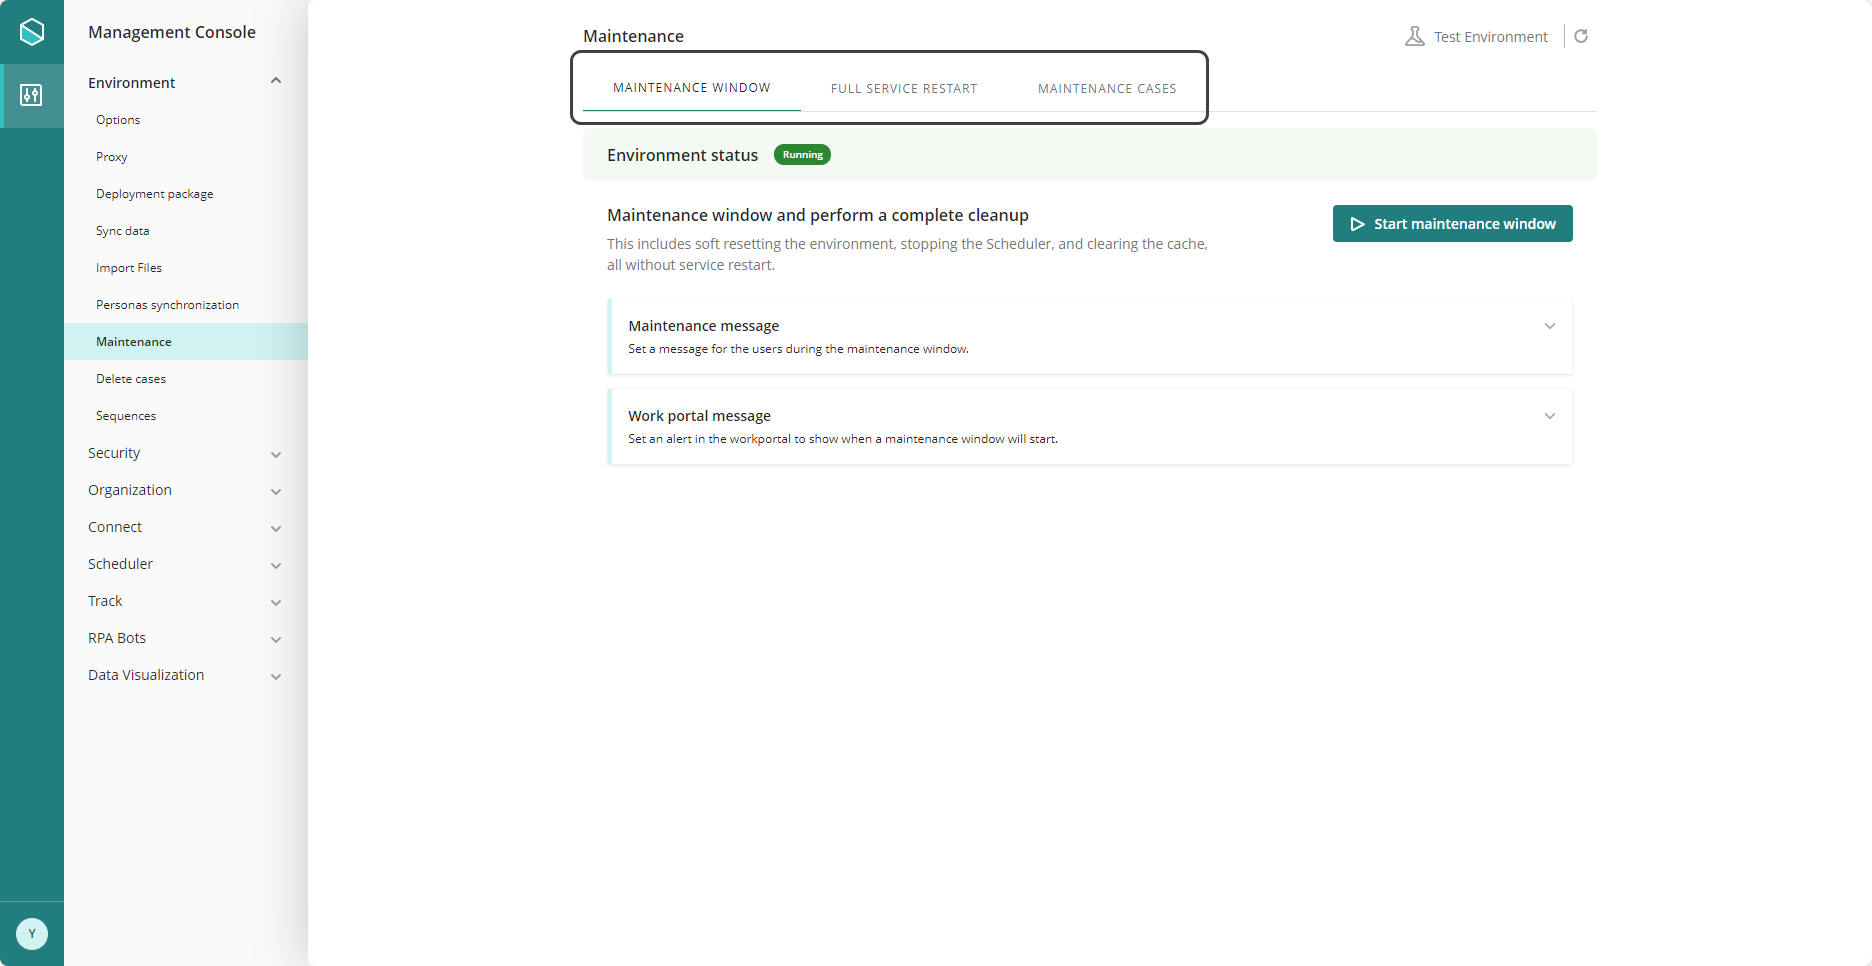
Maintenance Window
In this tab, administrators can temporarily make the Work Portal unavailable to carry out maintenance and update tasks that require users not to access the system.
While the Maintenance Window is active, users cannot access the Work Portal. This allows administrators to perform maintenance actions such as soft resetting the environment, stopping the Scheduler, and clearing the cache.
The Maintenance Window remains active until it is manually stopped by an administrator.
Configure the Maintenance Window
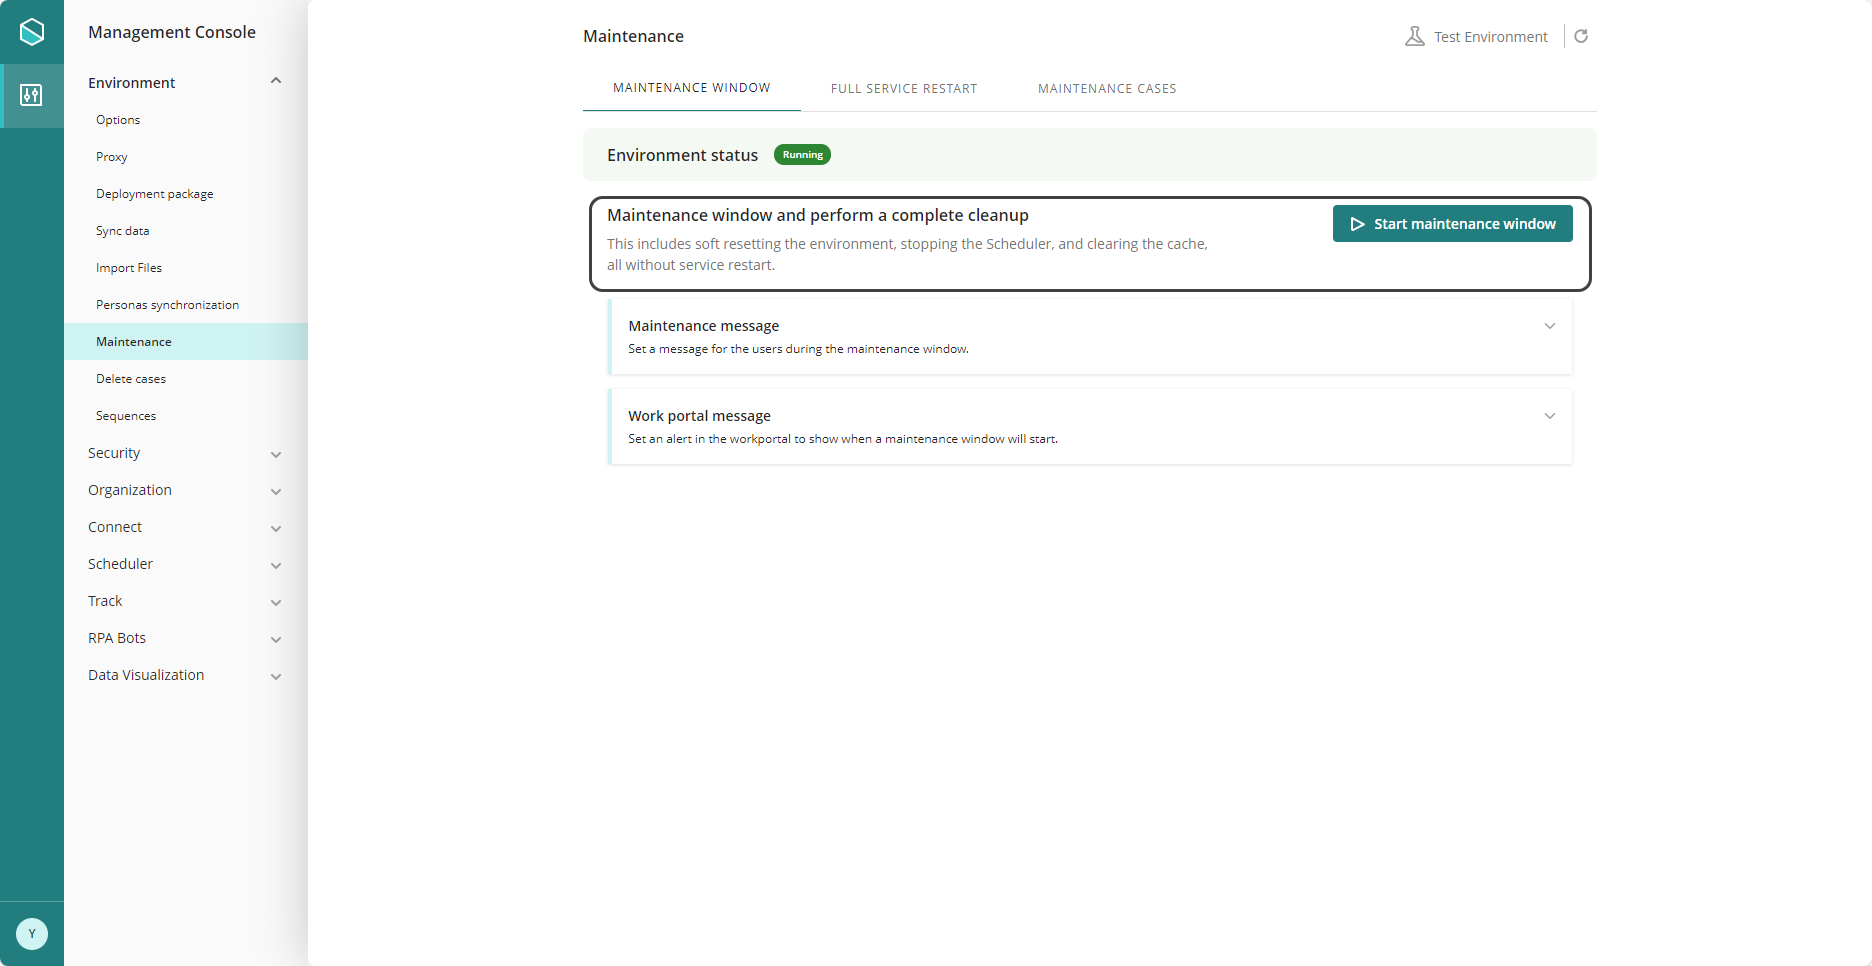
To configure the Maintenance Window, you must set three components: the Start maintenance window button, the Maintenance message, and the Work Portal message.
Start maintenance window button
Click the Start maintenance window button to start the Work Portal maintenance process.
Once started, the Environment status indicator shows a Running status. When the maintenance is finalized, the status changes to Restarting, and once the maintenance is stopped, it shows a Maintenance status.
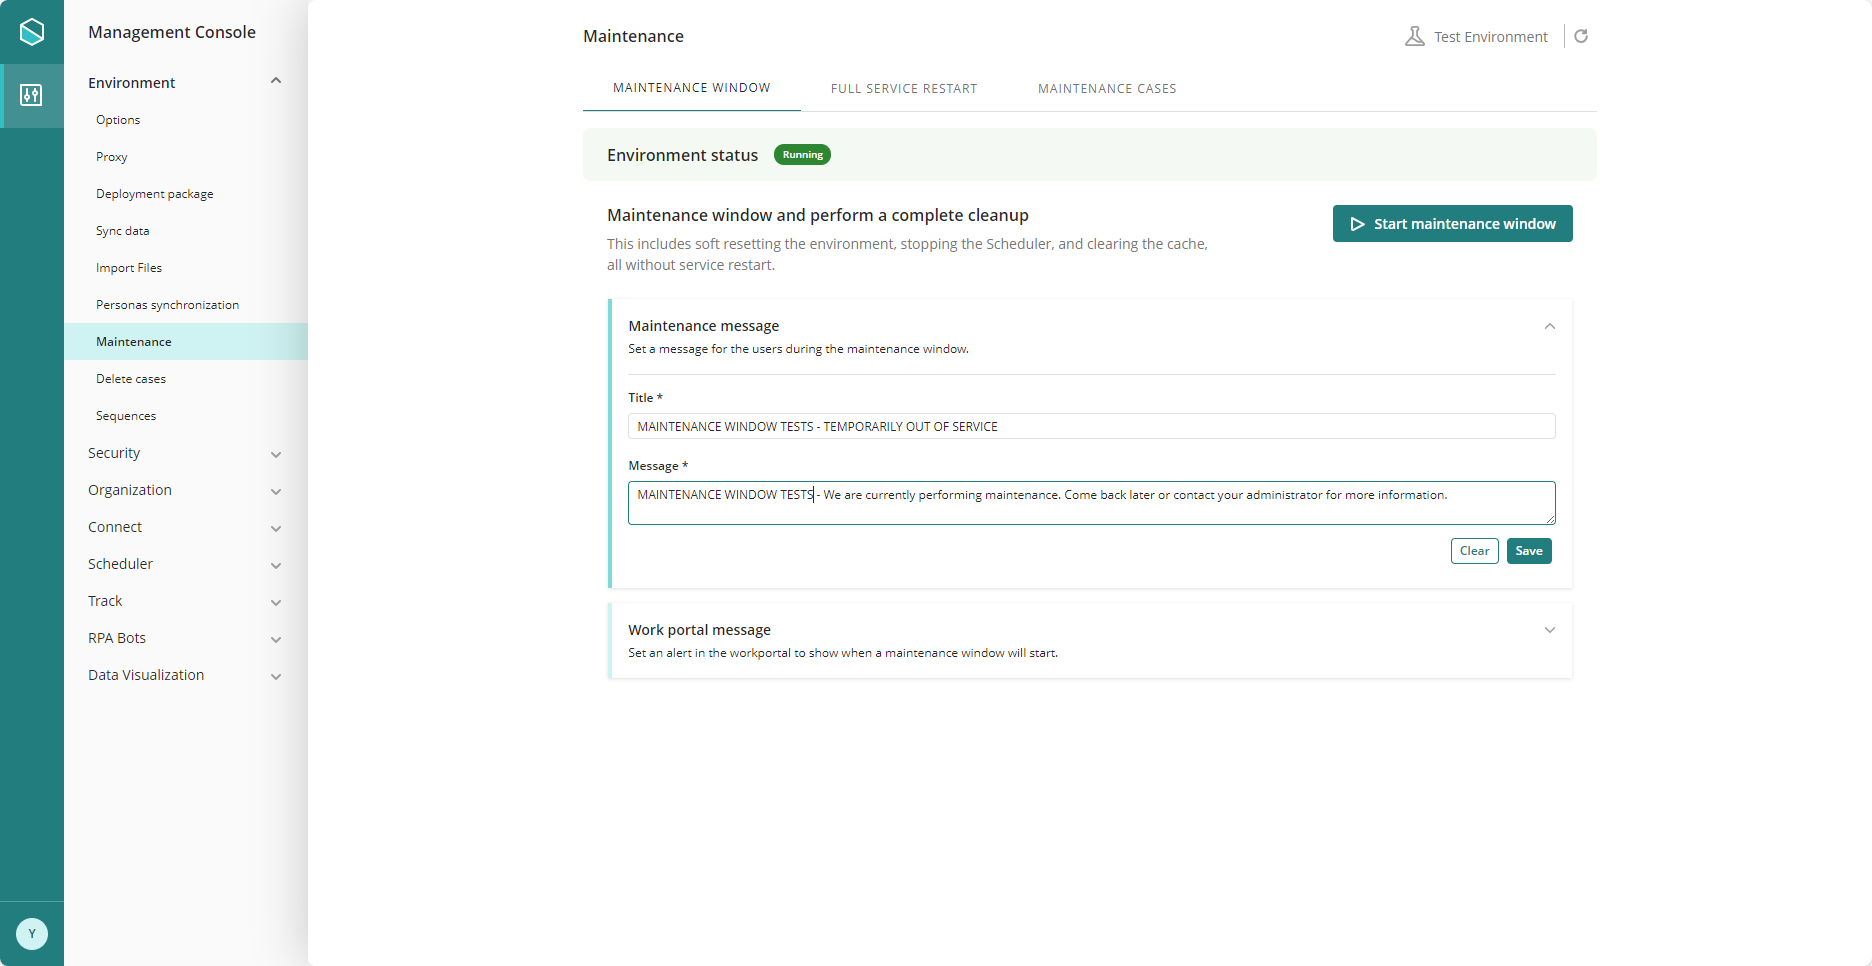
Maintenance message
The Maintenance message is the notification sent to users while Work Portal access is unavailable.
To configure the message, administrators must add a descriptive Title and Message text. After customizing the message, click Save.
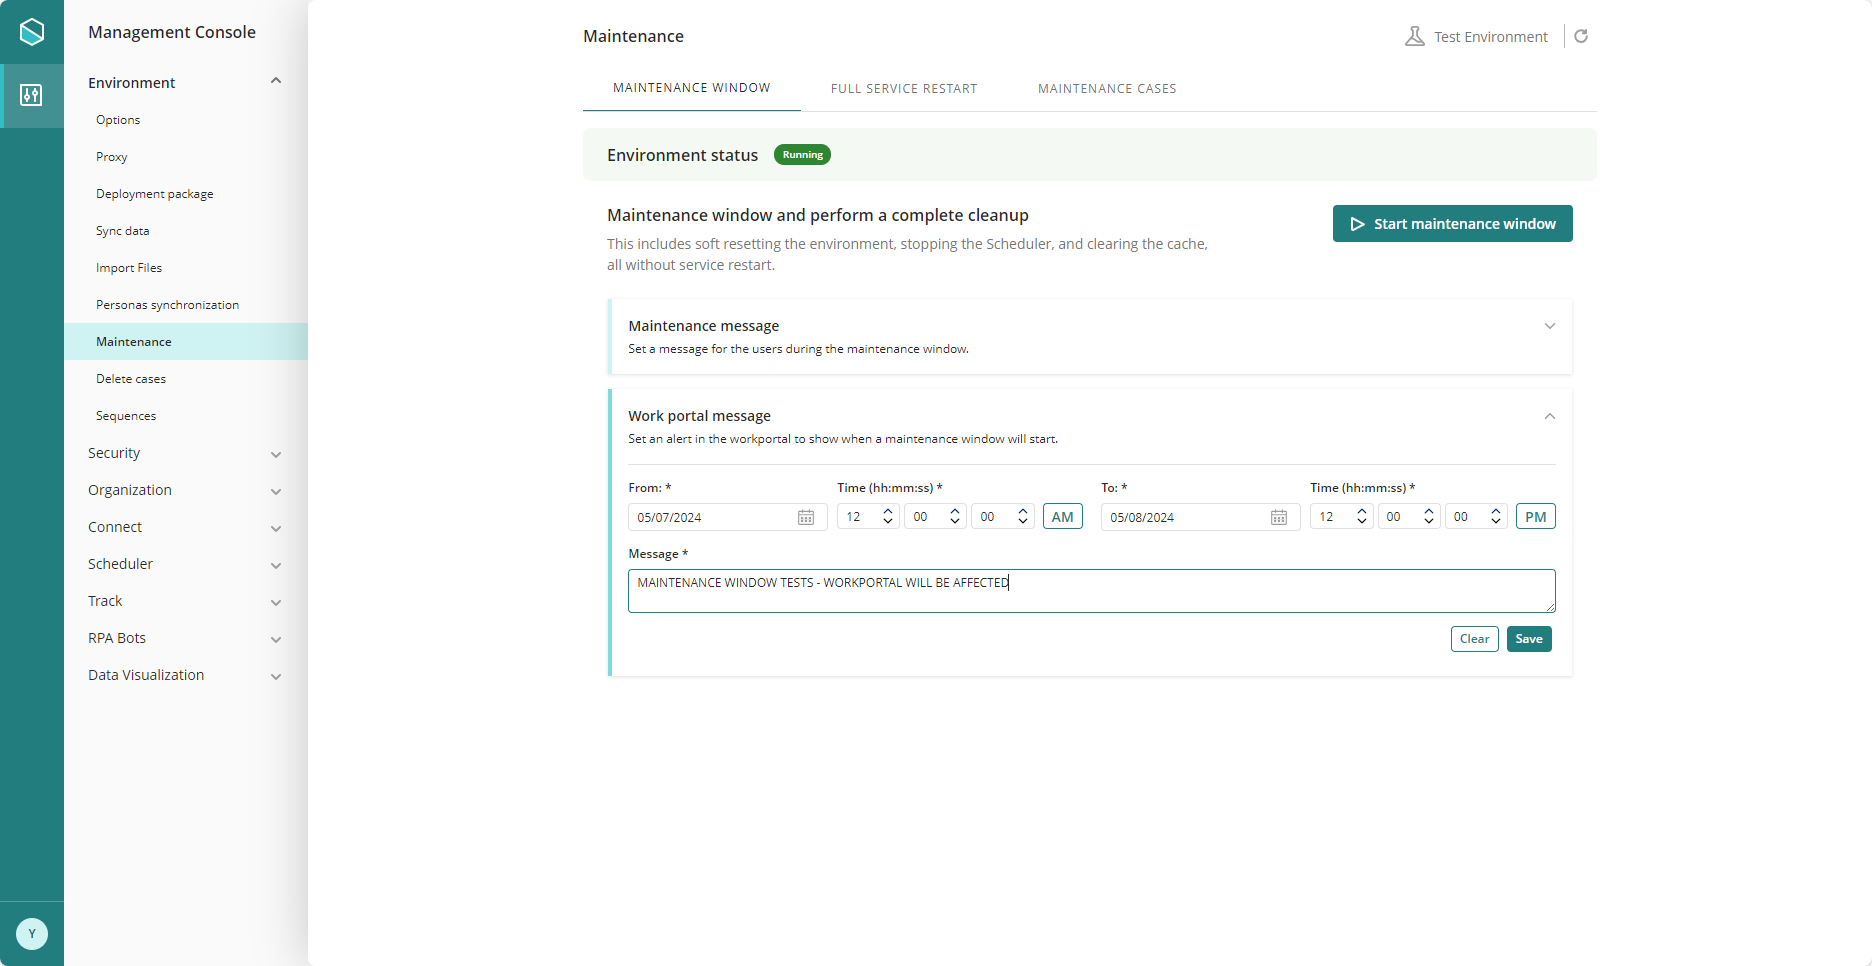
Work Portal message
The Work Portal message is the alert shown to users when a Maintenance Window is scheduled to be executed. This ensures users are notified of a planned service interruption.
You must configure the schedule and message, including the start and end date and time. Once all required fields are configured, click Save.
Full Service Restart
This tab allows administrators to restart specific Bizagi services.
During a Full Service Restart, the Work Portal, Scheduler, and Connectors services are temporarily unavailable until the restart process is completed. Other components, such as the Management Console, remain available.
A Full Service Restart includes:
•Restarting the application services
•Restarting the Engine
•Restarting the Scheduler
•Cleaning the application temporary files
•Cleaning the Forms cache
How to execute a Full Service Restart
To perform a Full Service Restart, click the Restart Service button.
Once initiated, the Work Portal, Scheduler, and Connectors services are temporarily unavailable while the restart is completed. During this time, the Environment status indicator shows a Running status.
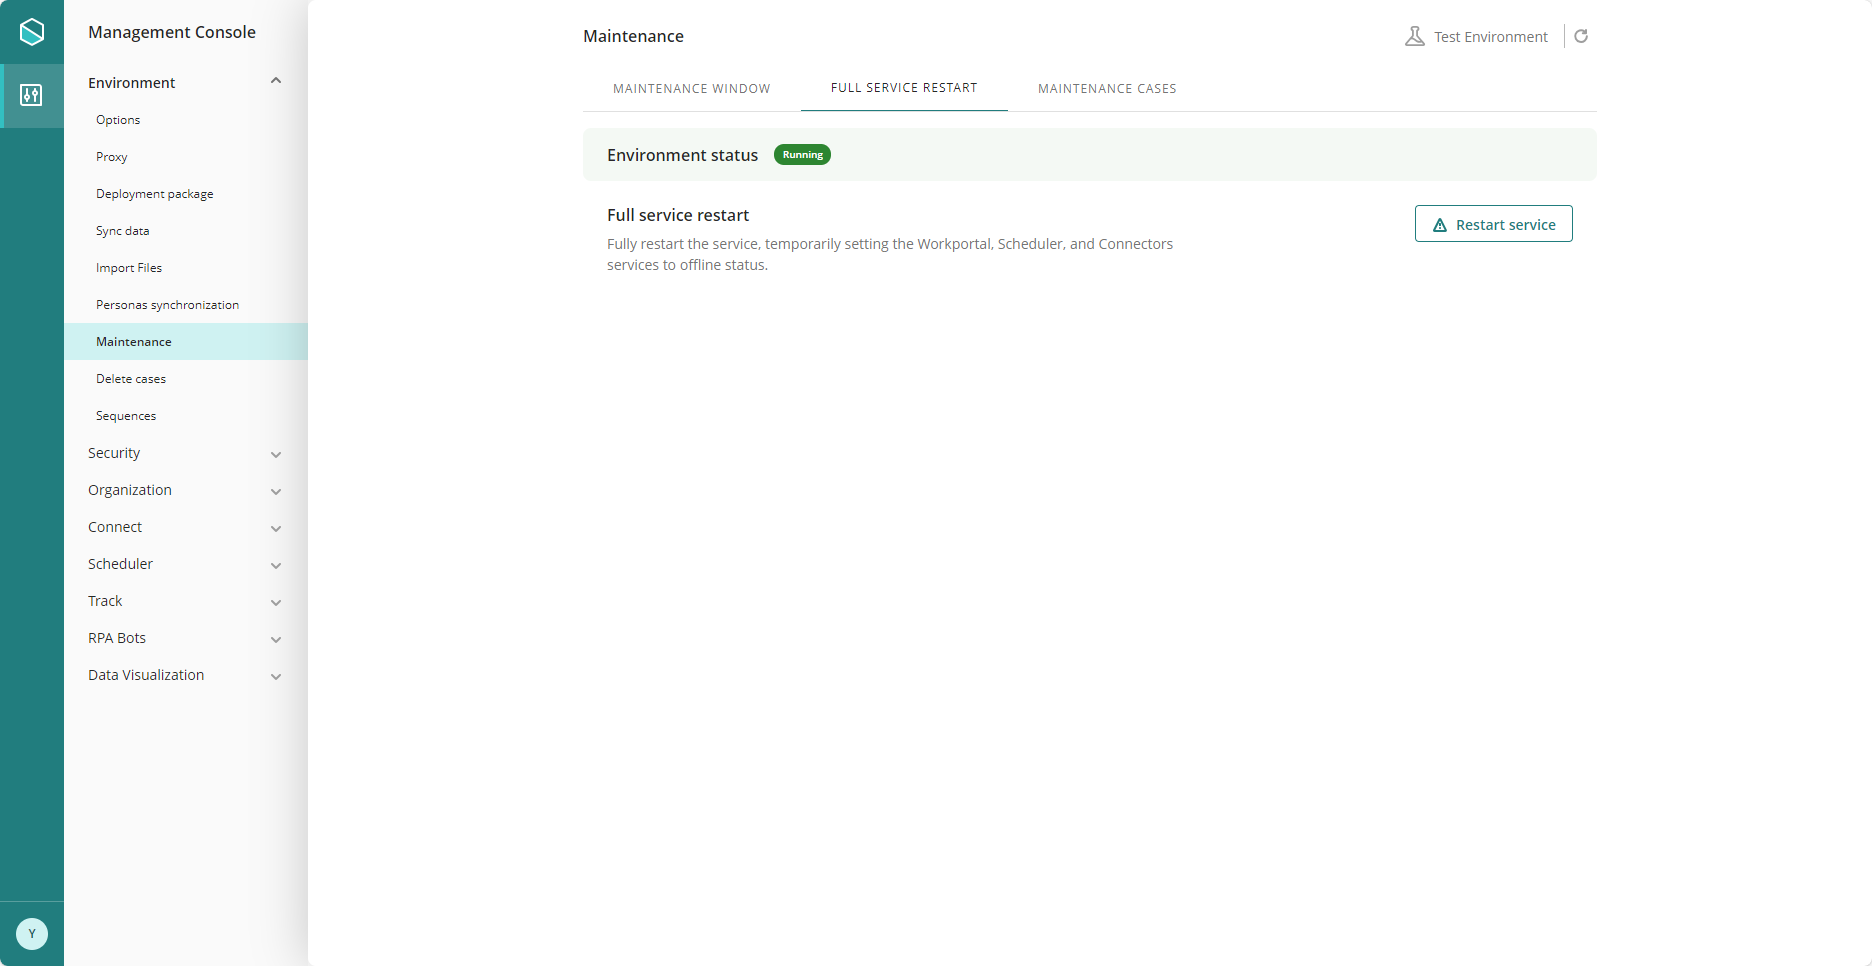
If the restart takes longer than expected, select the Verify service availability link to manually verify whether the services have been successfully restarted.
|
Both the Maintenance Window and the Full Service Restart perform similar technical operations, including restarting services, clearing caches, and deleting temporary files.
The difference between both options lies in how service availability is managed: •The Maintenance Window keeps the Work Portal unavailable until the maintenance window is manually stopped. •The Full Service Restart restarts the Work Portal, Scheduler, and Connectors services, making them unavailable only for the duration of the restart.
In addition, the Maintenance Window is automatically set if it has not been manually configured beforehand and the objects included in the deployment package require it. For example, during a first deployment or when the content of the .bex file includes environment configuration changes.
If you suspect that a service is not responding correctly, you can perform a Full Service Restart to restart the affected services without keeping the Work Portal unavailable for an extended period. Keep in mind that the Work Portal, Scheduler, and Connectors services will be unavailable while the restart is in progress. |
Maintenance Cases
In this tab, administrators can configure a time interval for the daily maintenance of cases. This maintenance helps update the tables for closed cases.
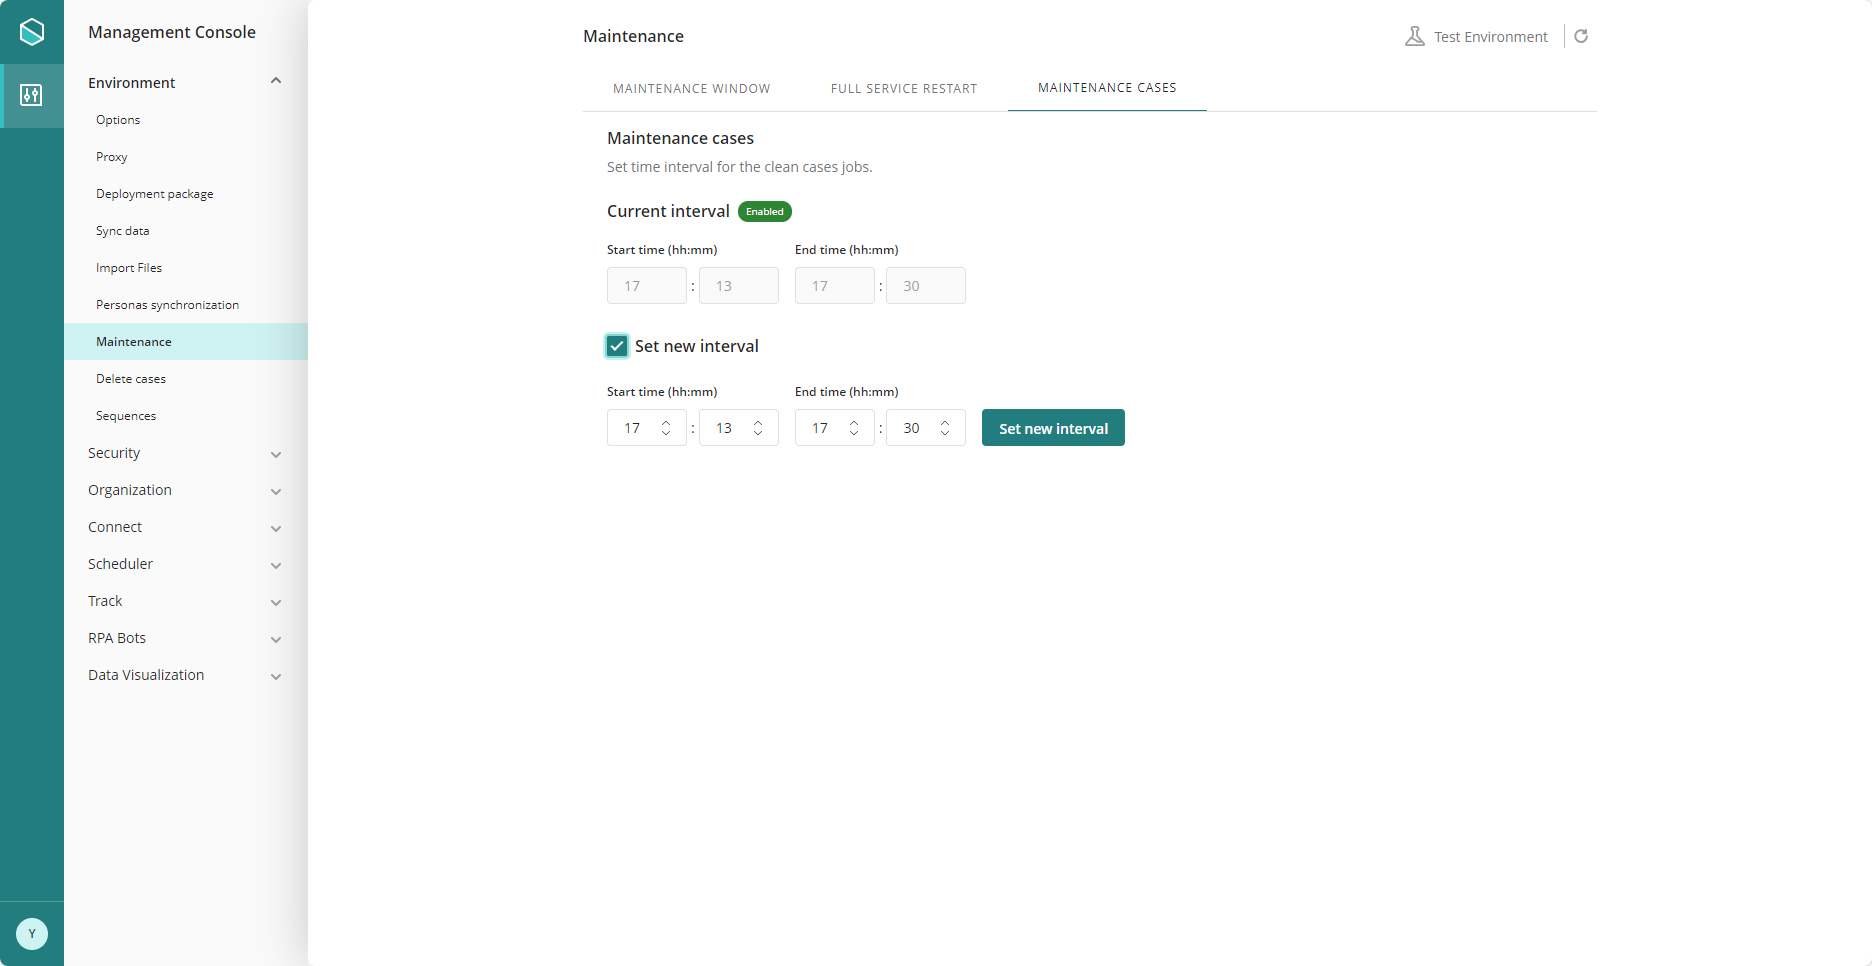
The Current interval status indicates whether the maintenance is Enabled, Disabled, or Online. When the status is Enabled or Disabled, administrators can configure a new maintenance interval. When the status is Online, the interval fields are disabled and shown in read-only mode.
Configure the daily case maintenance schedule
To configure the daily case maintenance interval:
1.Enable the Set new interval checkbox. This enables the Start time and End time fields.
2.Enter the new start and end times, then click Set new interval.
|
When a maintenance schedule is configured, execution begins daily at the defined Start time and ends at the defined End time.
If the current time is later than the configured Start time when the schedule is saved, execution begins the following day at the Start time.
Example: If you configure the maintenance interval from 10:00 p.m. to 11:00 p.m. and apply the changes at 10:03 p.m., the maintenance does not run immediately. It starts the next day at 10:00 p.m. |
Last Updated 12/19/2025 11:26:03 AM