In many situations you may need to include image objects in documents, generated during execution of a Process, such as photos, charts, bar codes, logos, signs among others.
Bizagi allows the inclusion of images in document templates. The benefit of this is a more detailed and richer document appearance.
Considerations
•The images included in document templates have to be part of the Process information, that is, they have to be loaded during the Process execution in an Image type attribute.
•Images in document templates are displayed at full, original size and are not resized.
How to include an image in a Document template
Images in document templates are included in a similar way to other information. First it is necessary to define an image-type attribute in the data model of the process, then create a word template and include a template tag, and finally map the attribute to the corresponding tag.
In the following example, we will illustrate these steps.
In the first activity of a new employee onboarding process, the human resources assistant includes the information of a new employee. In order to keep a physical hard copy record of the employee's information, a document containing all data of the new employee is generated and printed. This document includes a photo of the employee.
To include the employee's photo and other information in a document template, follow the next steps:
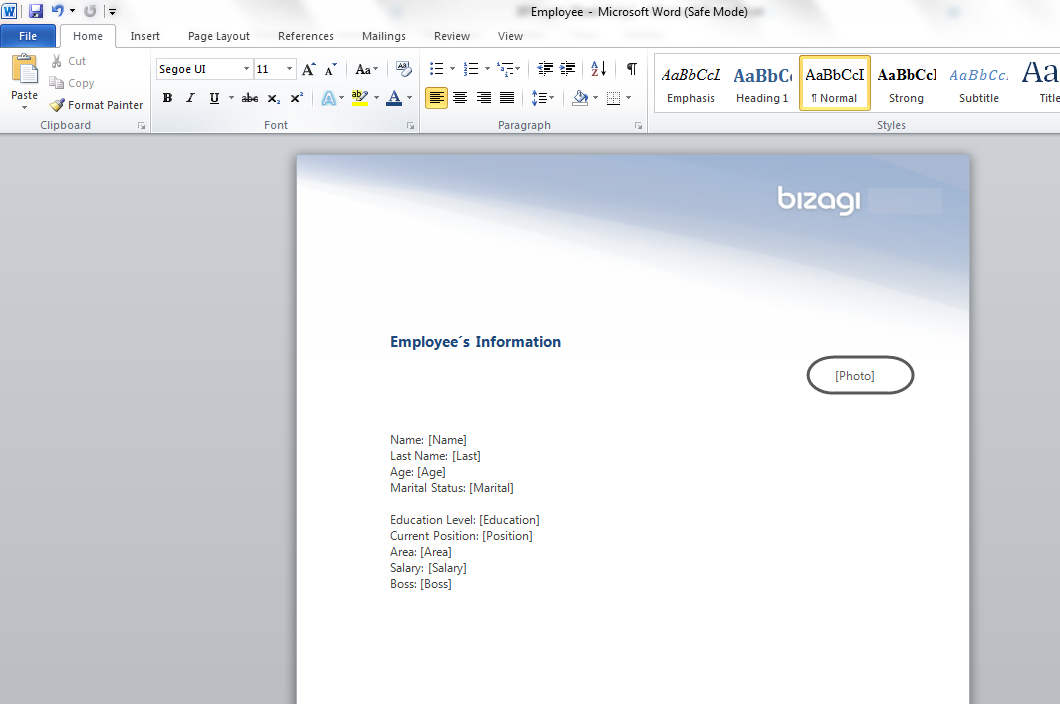
1. Create the Word template with the necessary tags. Note we have included a Photo tag to show the employee's photo, similarly to the other tags in the document (e.g. Name).
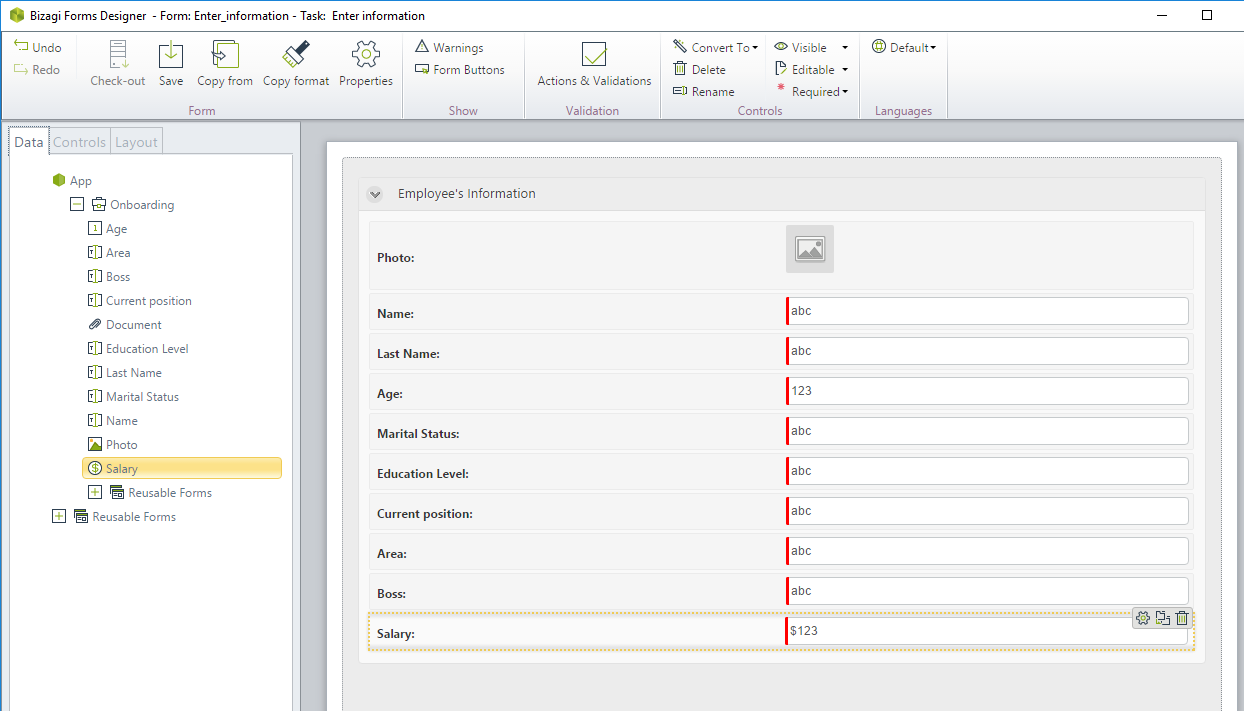
2. Go to the Activity Form and add the controls for your data source that correspond to the information in the document. Note we have added an image-type control to upload the employee's photo.
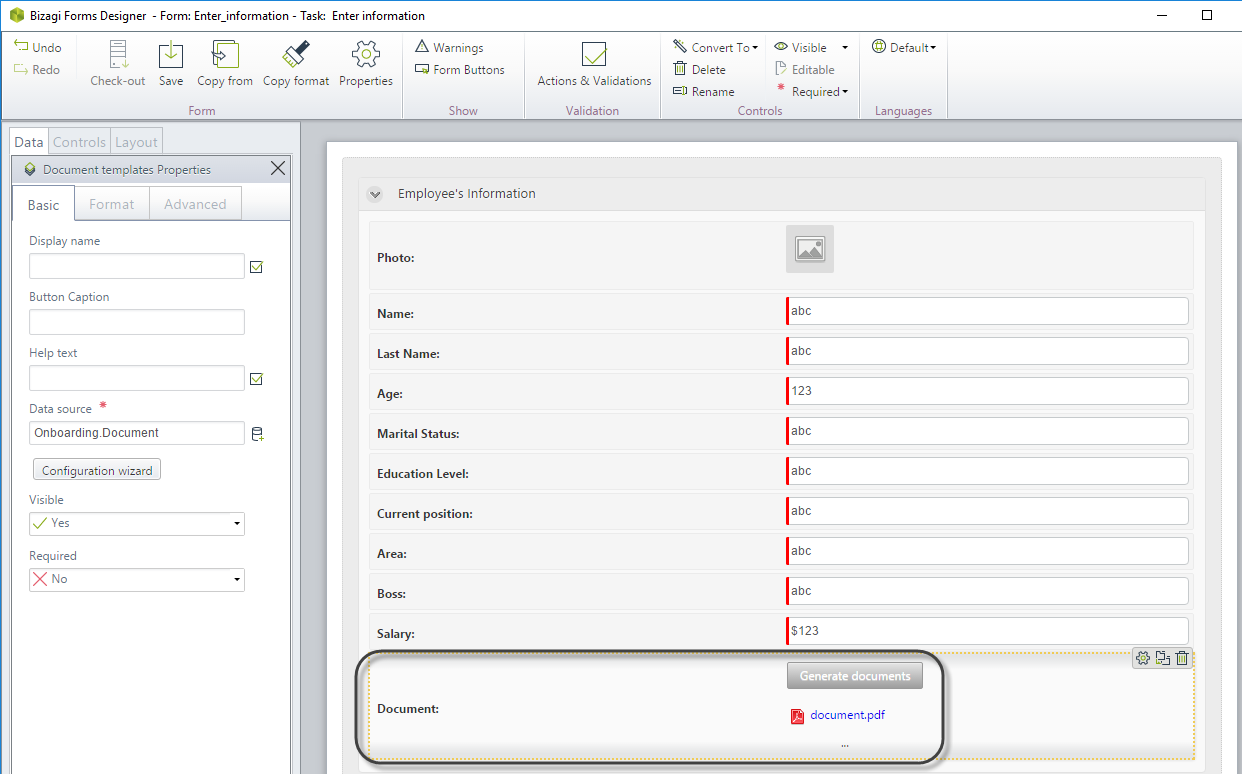
3. Insert a document template control and configure the associated Word Template.
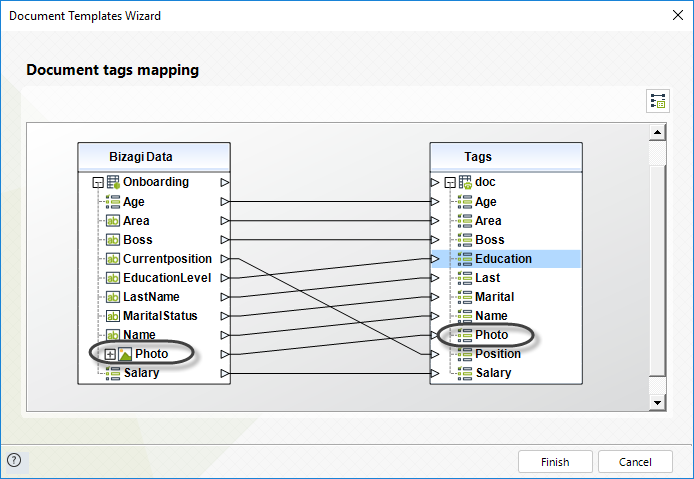
4. In the mapping options of the Configuration Wizard, relate each control with its corresponding tag in the document template. Note that we relate the image control with the corresponding document tag (Photo), in the same way we do for the other control types.
Close the Configuration Wizard and save the form.
5. Go to the Work Portal, fill the necessary information in the activity (including uploading the employee´s photo). Generate the document by clicking the Generate Document button.
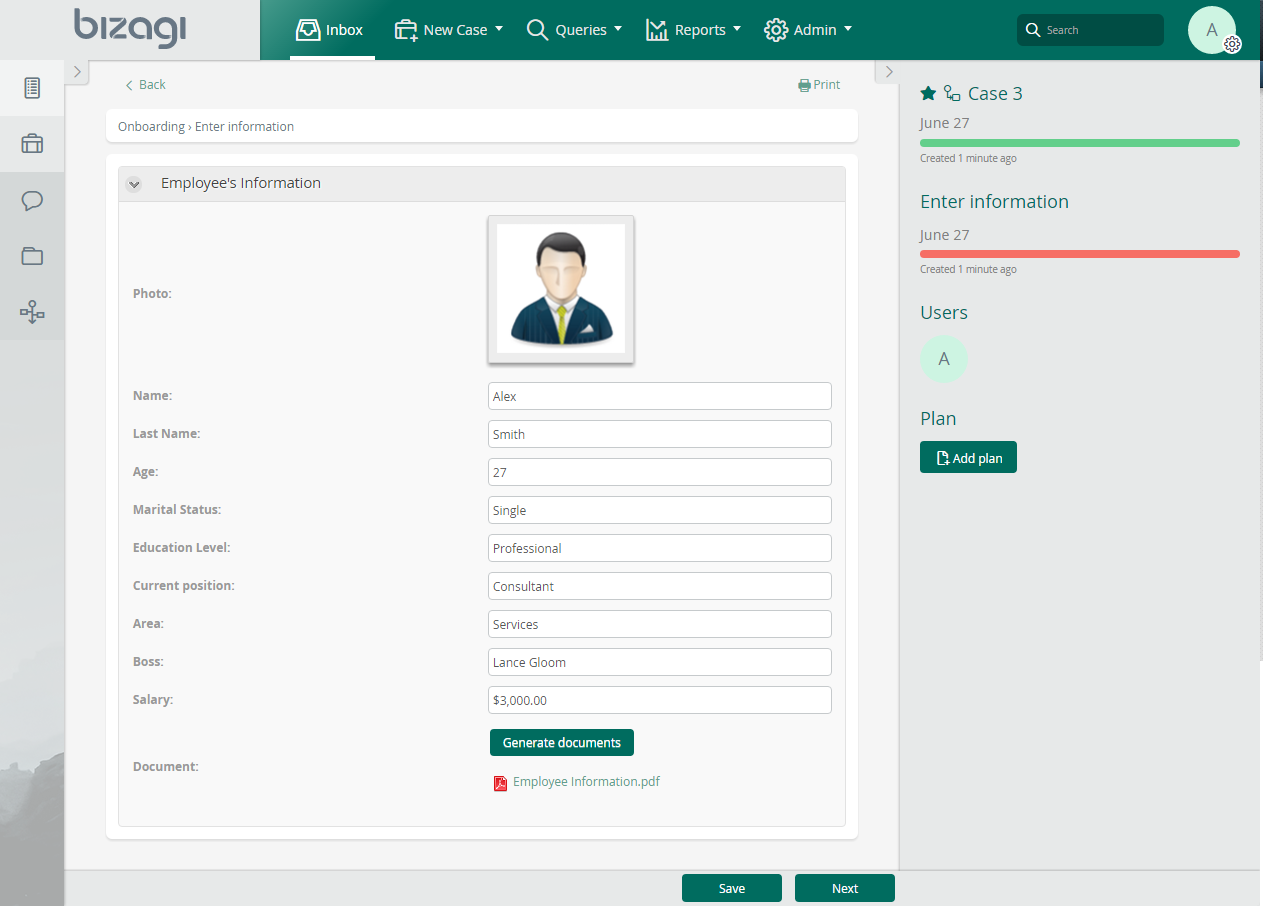
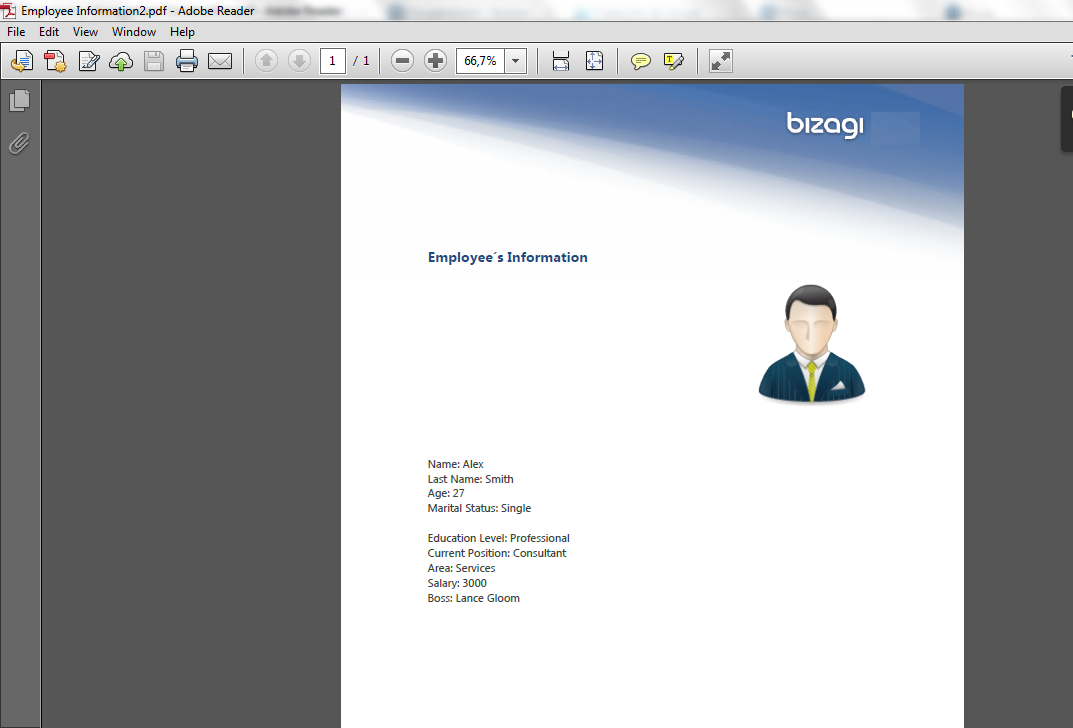
When finished, your document should look like the following:
Last Updated 1/6/2022 4:48:06 PM