Overview
The next step after provisioning the customer's environments is the email configuration. Bizagi is capable of sending emails from any configured process. To do so, it is necessary to give permissions to Bizagi to send emails on behalf of a specific domain. This article explains what the customer has to do to complete the email configuration.
Email configuration
The following image shows the general process that must be completed for email configuration:

1.You can use your own domain to perform this configuration (e.g.@agilitycorp.com). However, you may prefer to use a subdomain instead (e.g.@bizagi-agilitycorp.com, @external-agilitycorp.com). Bear in mind that the domain that you select for this configuration must be owned by your company.
|
You may not choose to use bizagi.com as a domain. As a best practice, sender email addresses for test and production environments should be different (e.g. noreply_test@agilitycorp.com and noreply@agilitycorp.com). |
2.After the domain has been defined, Bizagi configures the domain through which the emails are going to be sent.
3.After Bizagi has configured the domain, it is mandatory that you configure in your DNS the permissions associated to Bizagi for sending emails with your domain.
4.Once you have finished the DNS configuration, Bizagi can complete the configuration process by verifying the DNS entries.
How to test the email configuration
To test that the email configuration is successfully finished, you can create a simple Live Process that sends an email to a user. To learn more about Live Processes, click here.
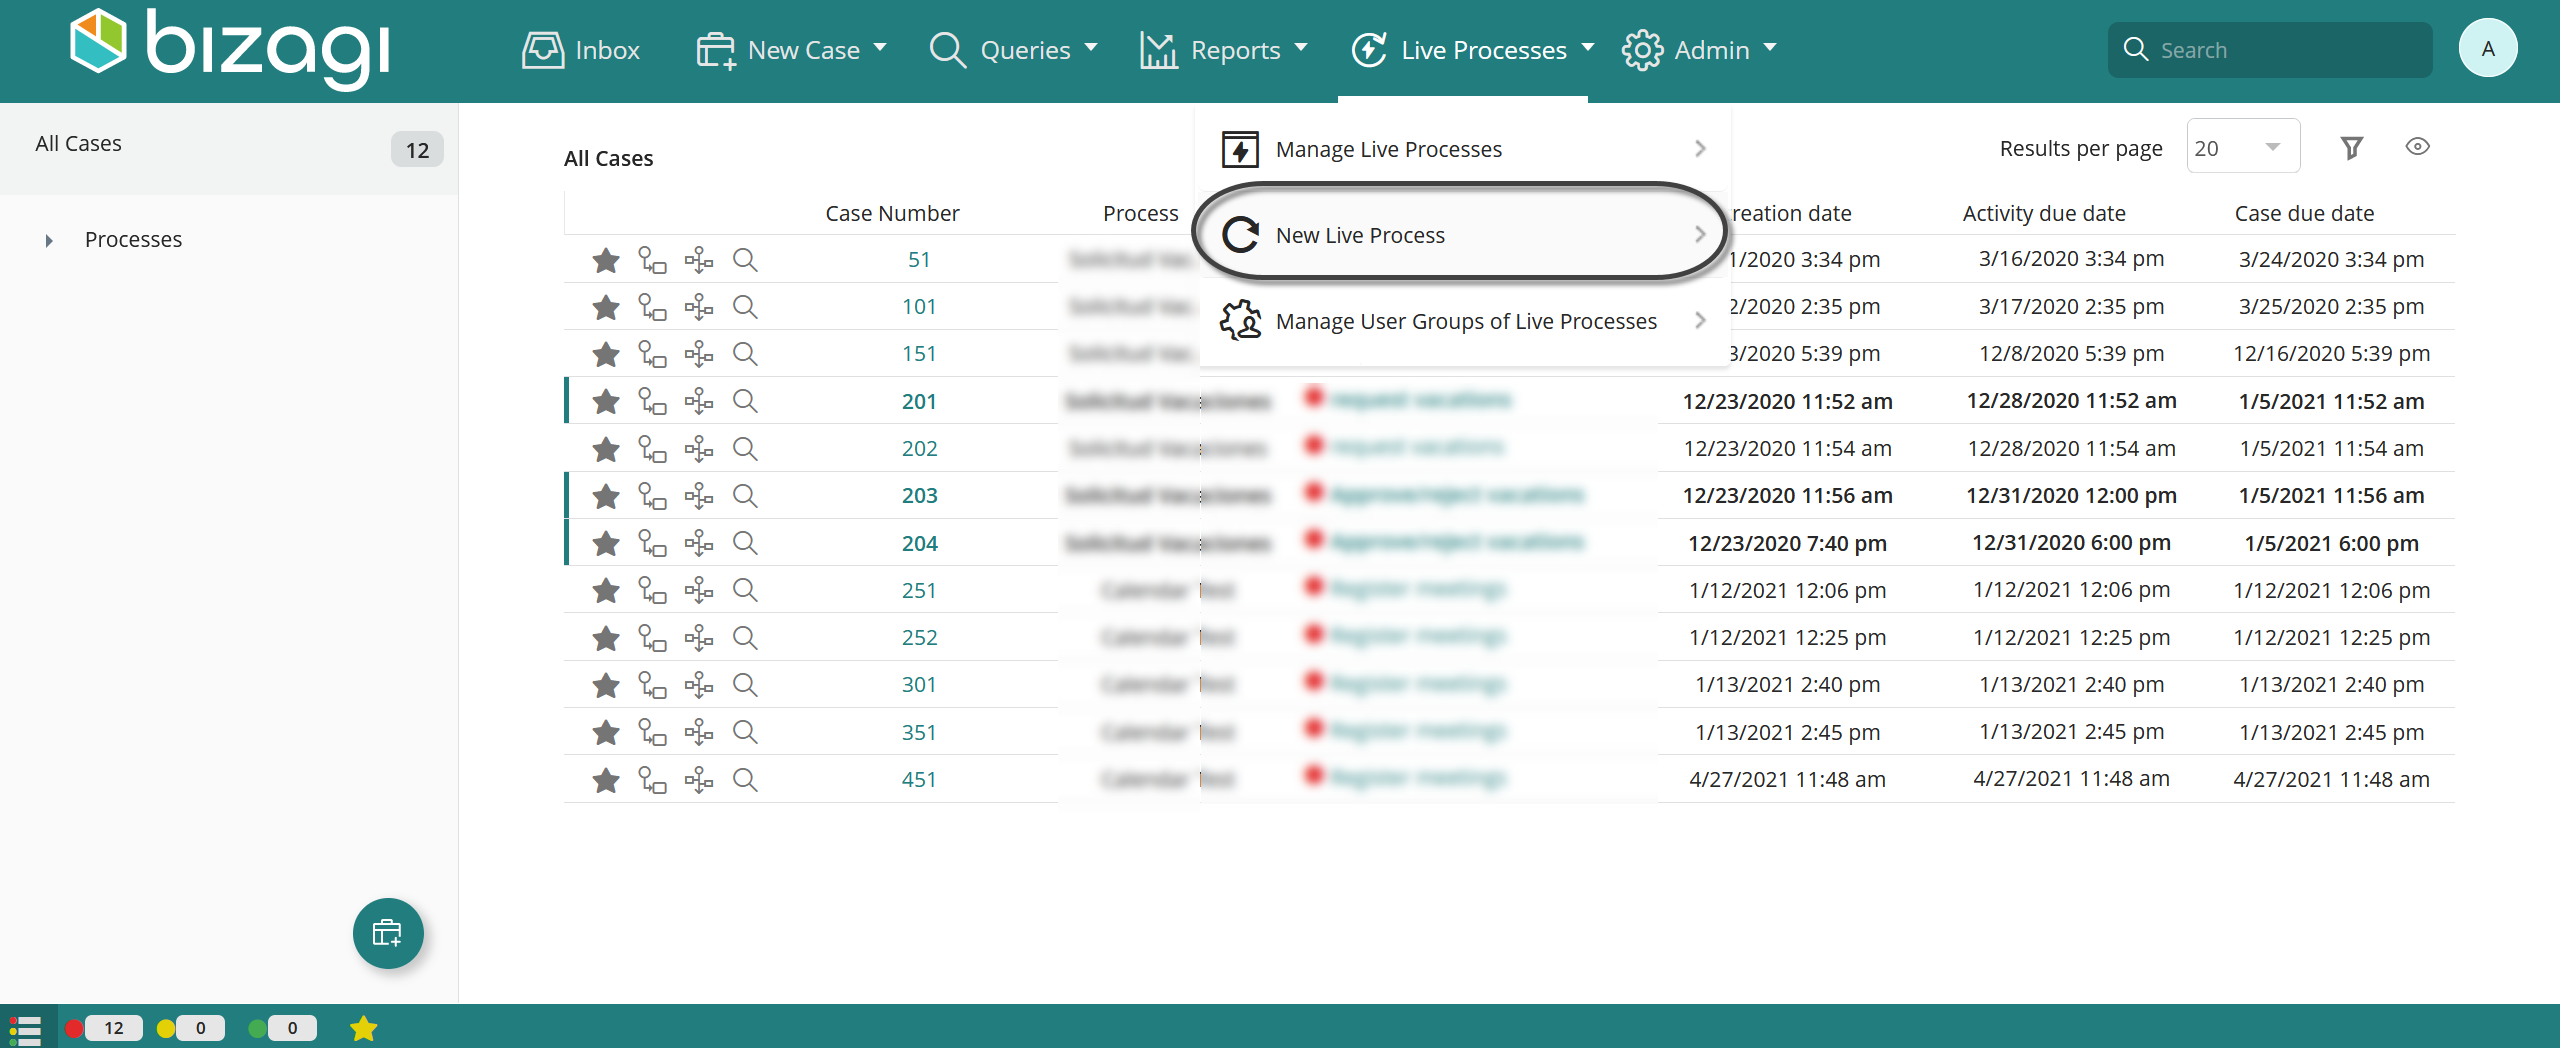
1.To create a Live Process, the user must have admin rights. Go to the Work Portal and in the Live Processes menu, click New Live Process.
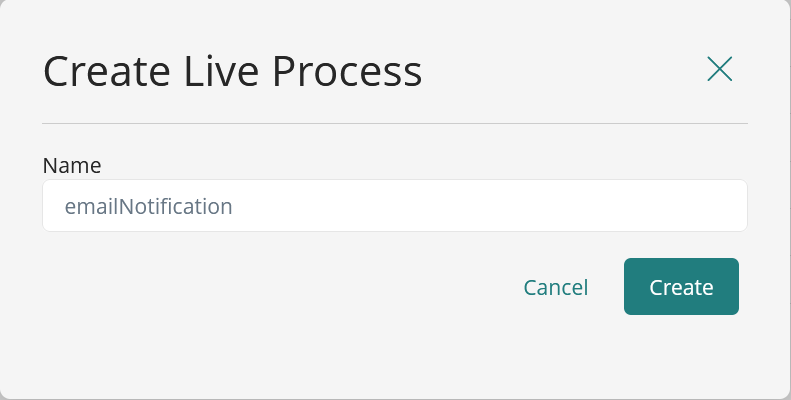
2.Give your process a name and then click Create.
3.Create a simple process and in the task, select the Change Type option.
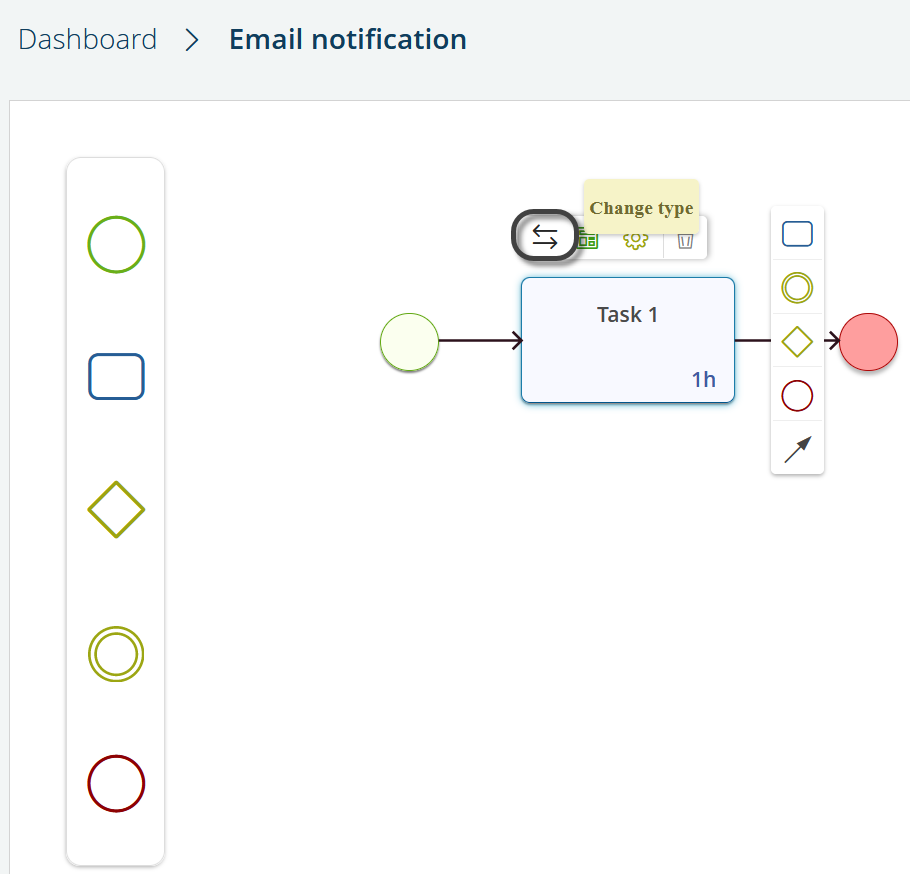
4.Select the task and click Email Settings.

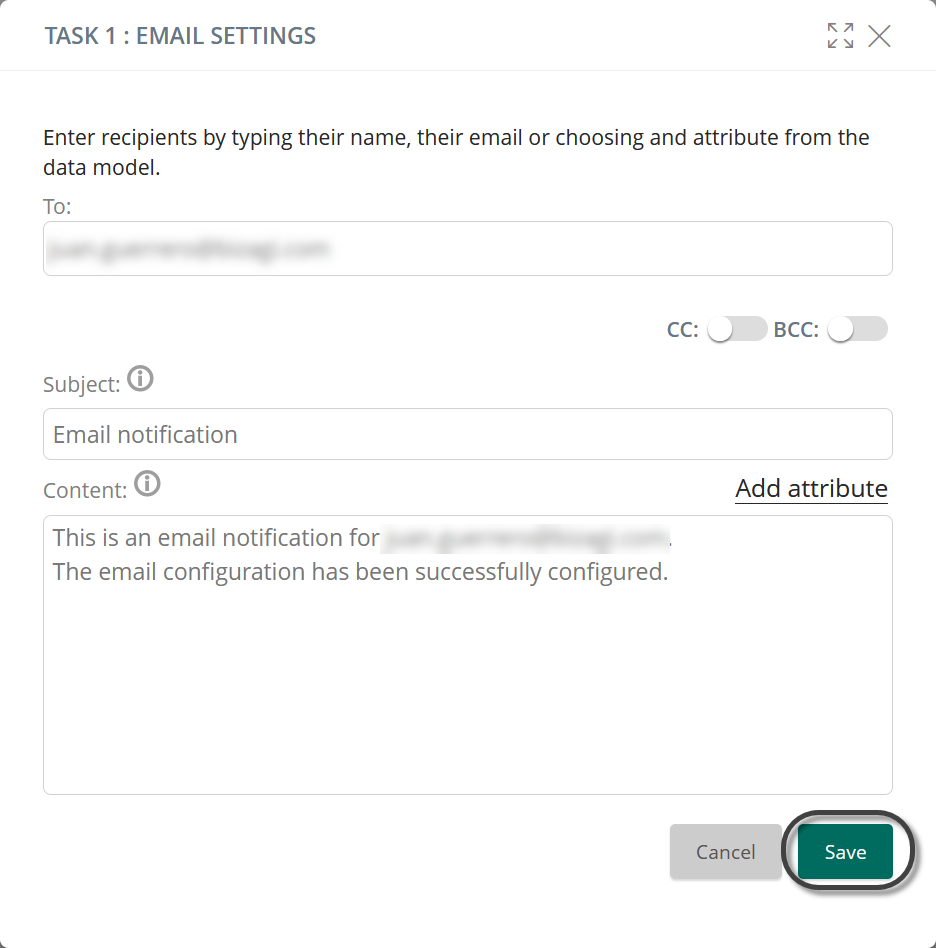
5.Type the email address of the recipient and complete the email information. When finished, click Save.
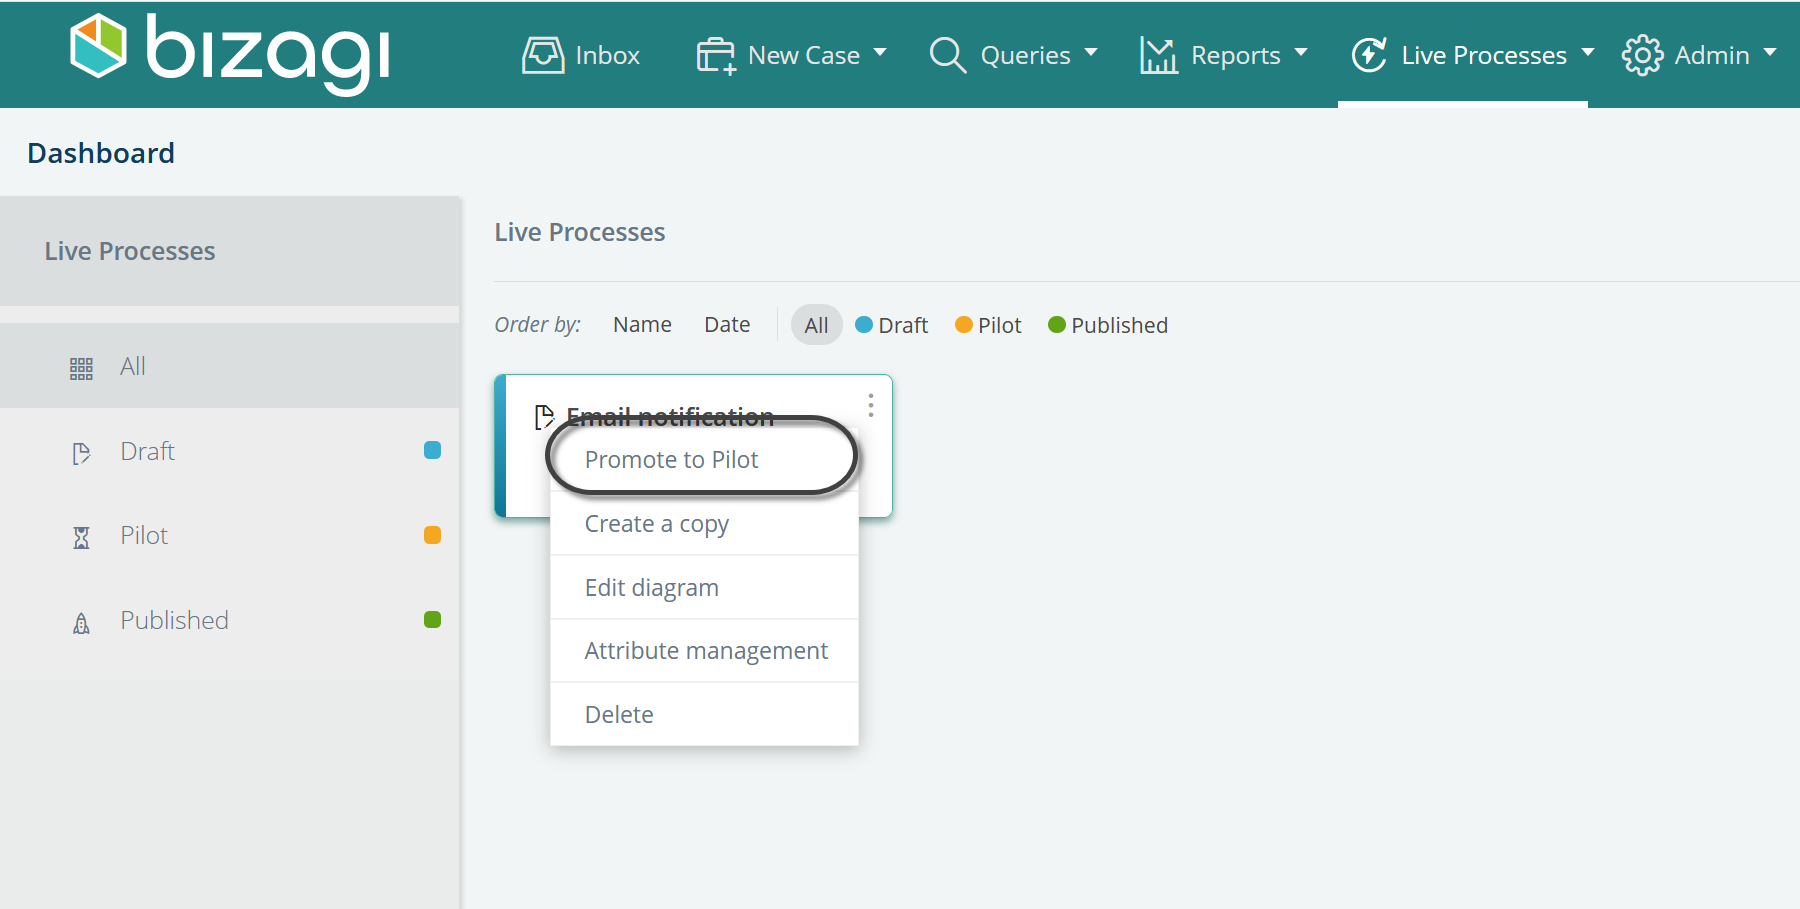
6.Go to the Live Processes Dashboard and in your process select Promote to Pilot.
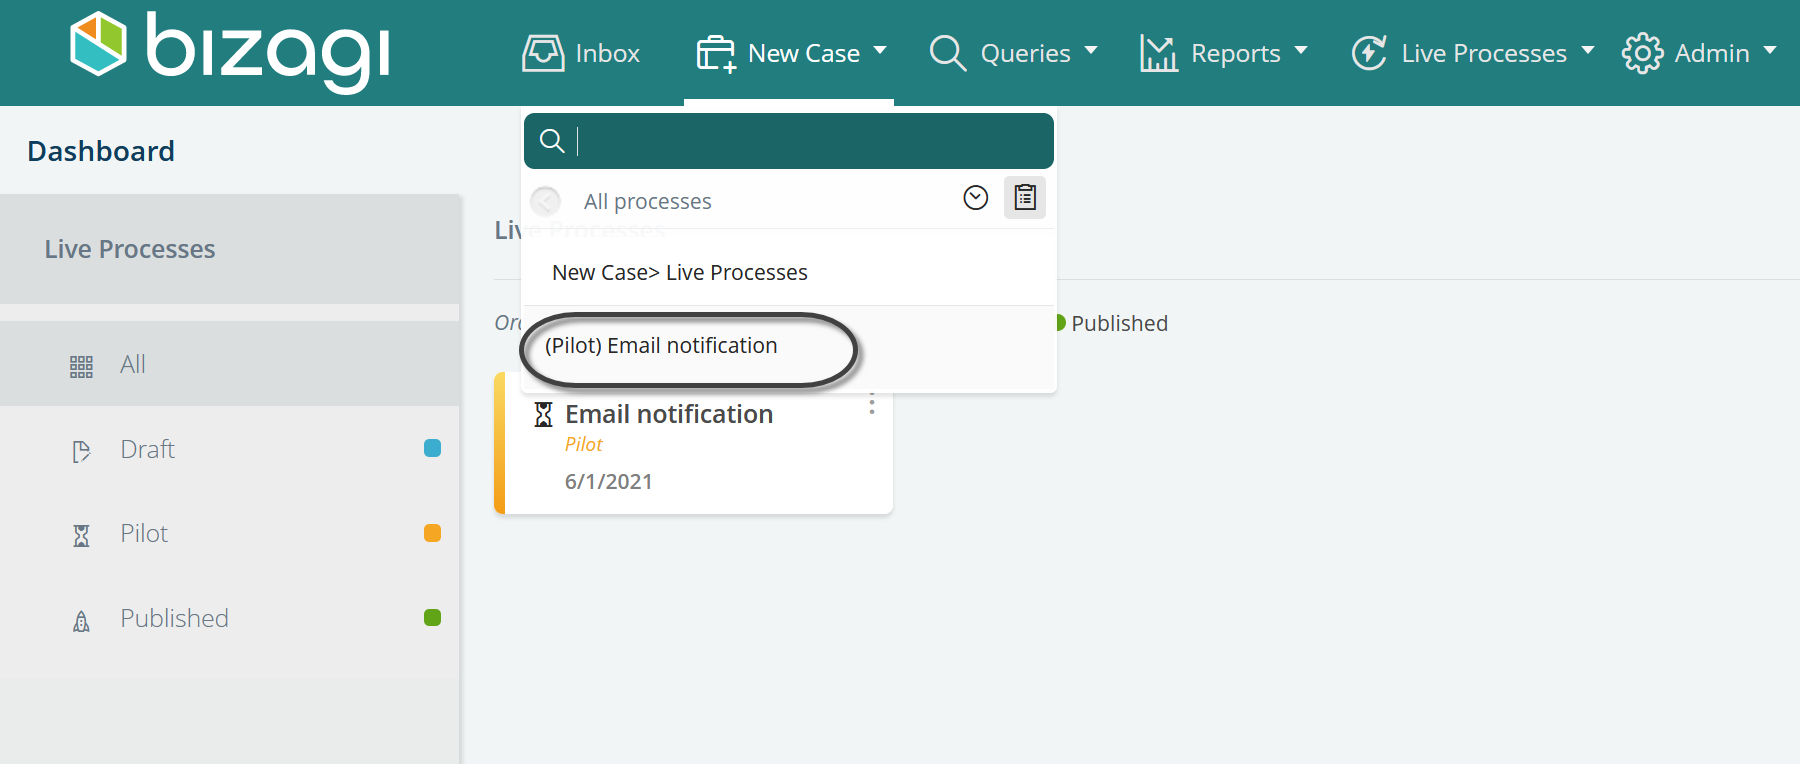
7.Create a new case of your Live Process.
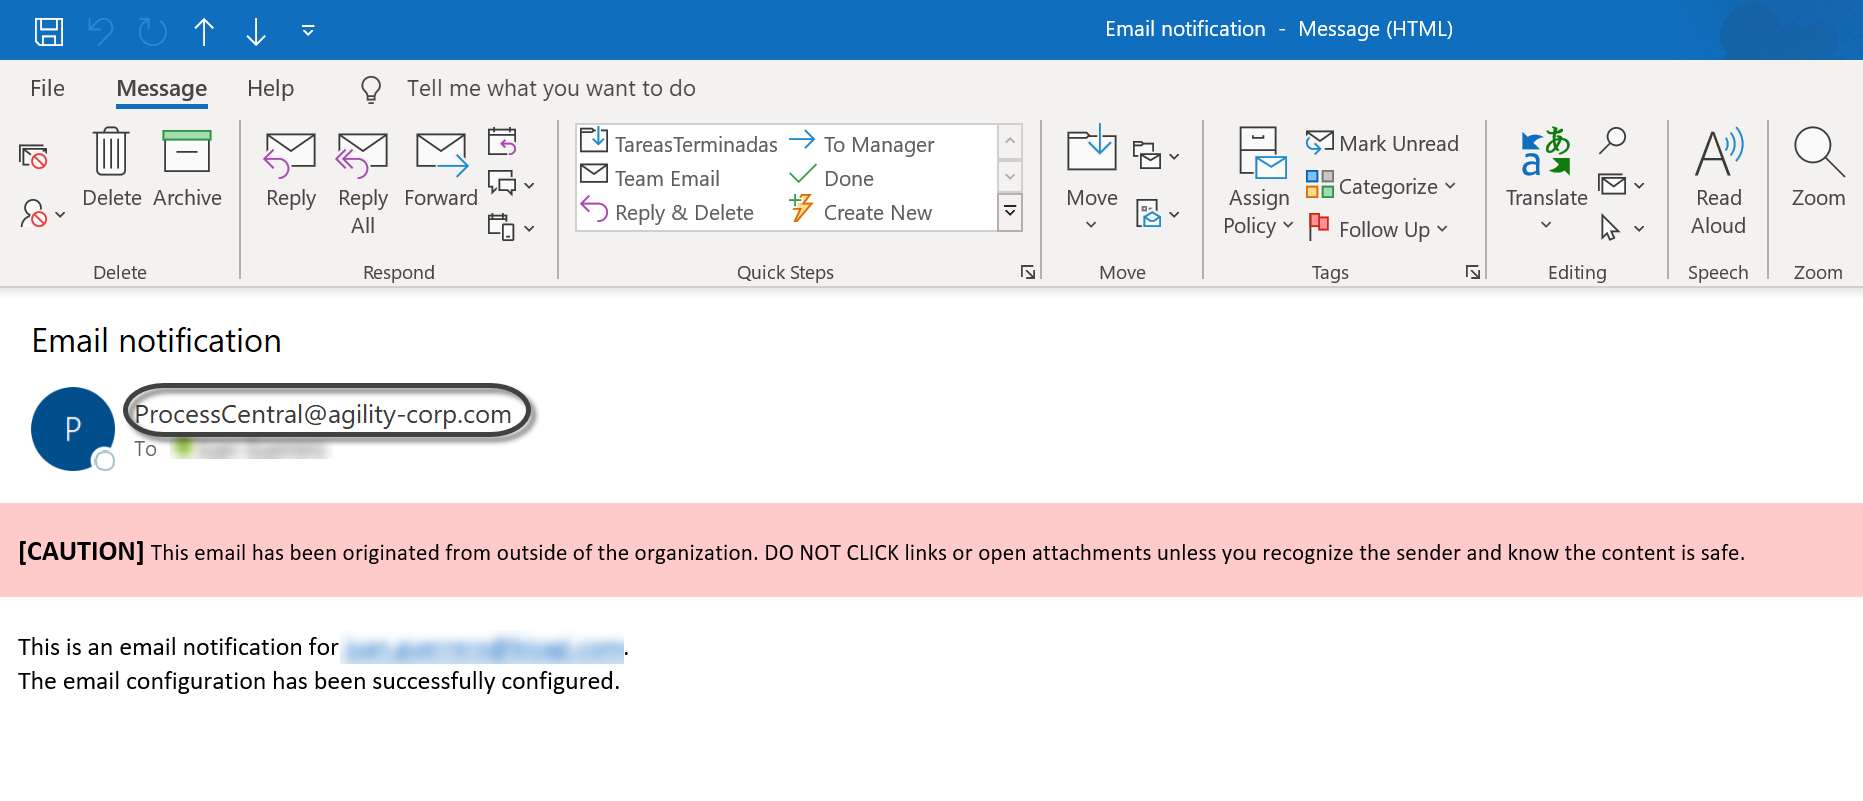
8.If the email was configured correctly, you should receive an email from the domain defined in the configuration.
Next steps
Once the email sender is configure, you can start configuring all your Cloud Portals.
Last Updated 7/10/2023 2:22:11 PM