From the Configuration Wizard follow the next steps:
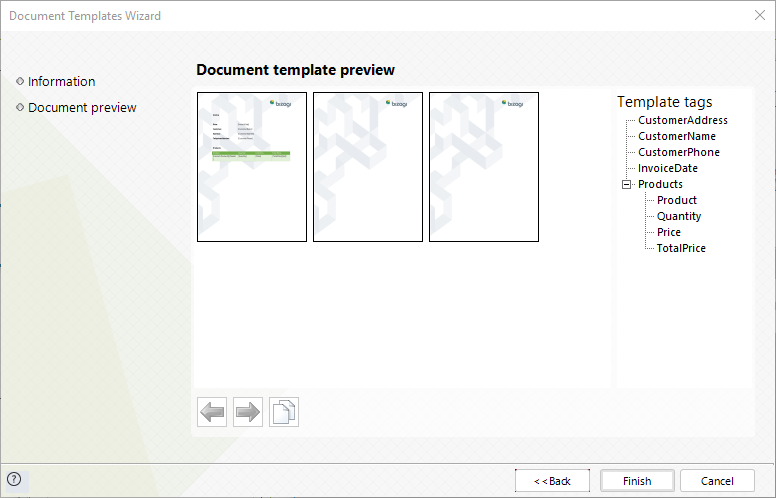
1. Upload the Word template.
To upload a template click the Plus icon.
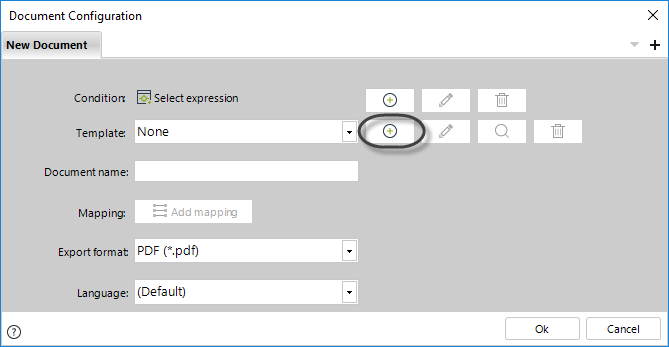
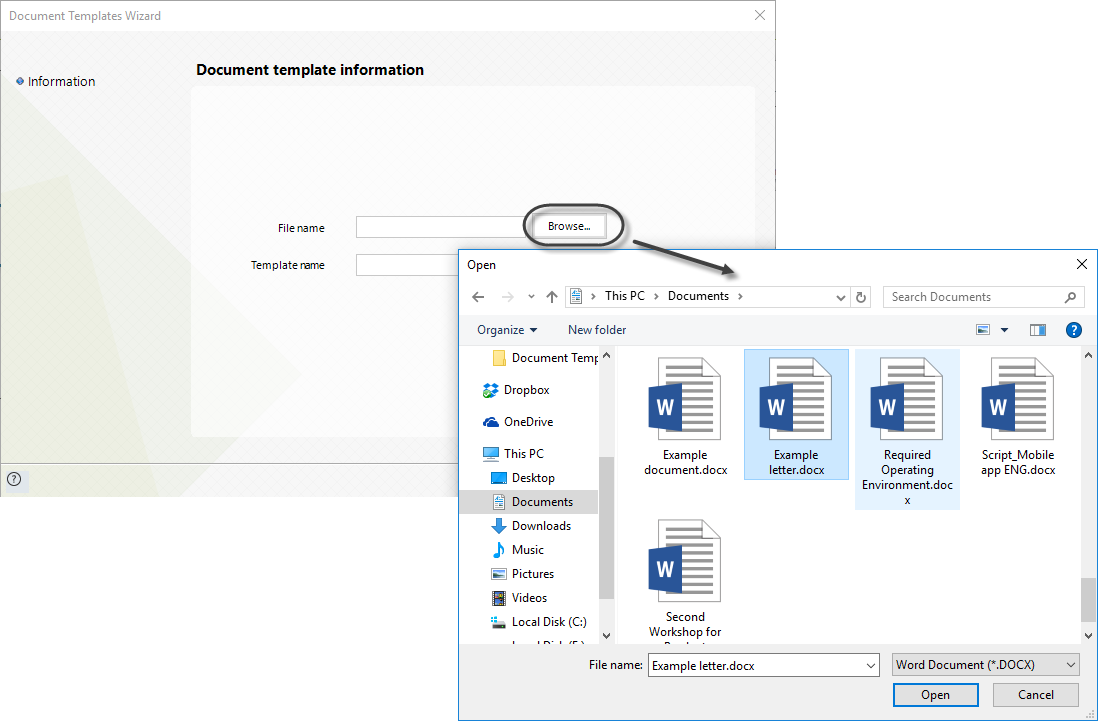
In the new window click the Browse button, select the template for upload and click Open. Make sure the template is not opened elsewhere in order to successfully upload it.
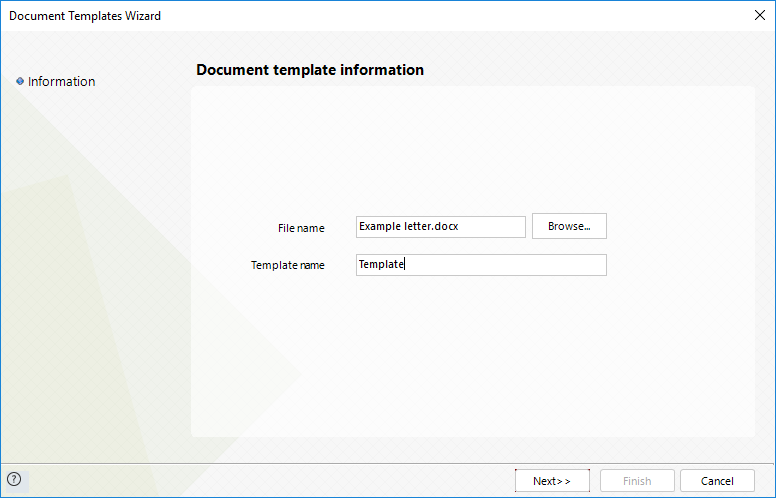
If desired, change the template name. Click Next.
A new window will display a preview of the template along with the list of tags found in the template. Click Finish.
2. Define the document name.
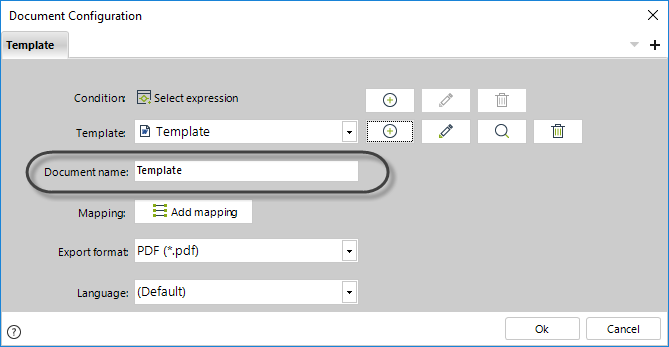
This field contains the name of the actual document that is generated in the Work Portal.
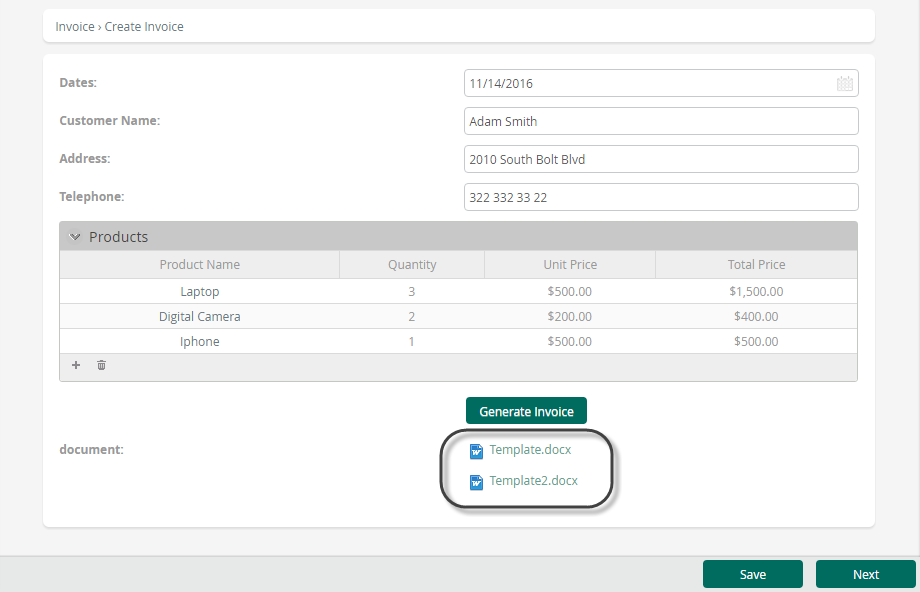
If the property Replace existing documents is turned off, and the end user click Generate several times multiple documents of the same template will be generated. These will be named with the Document name followed by a sequential number.
For example if Invoice is the Document name, when creating a second document of the same template it will be named Invoice1 as shown below.
3. Map the information from the Process data model.
This option allows relating the Template Tags with the data model of the Process.
Click the Add Mapping button to open the mapping wizard
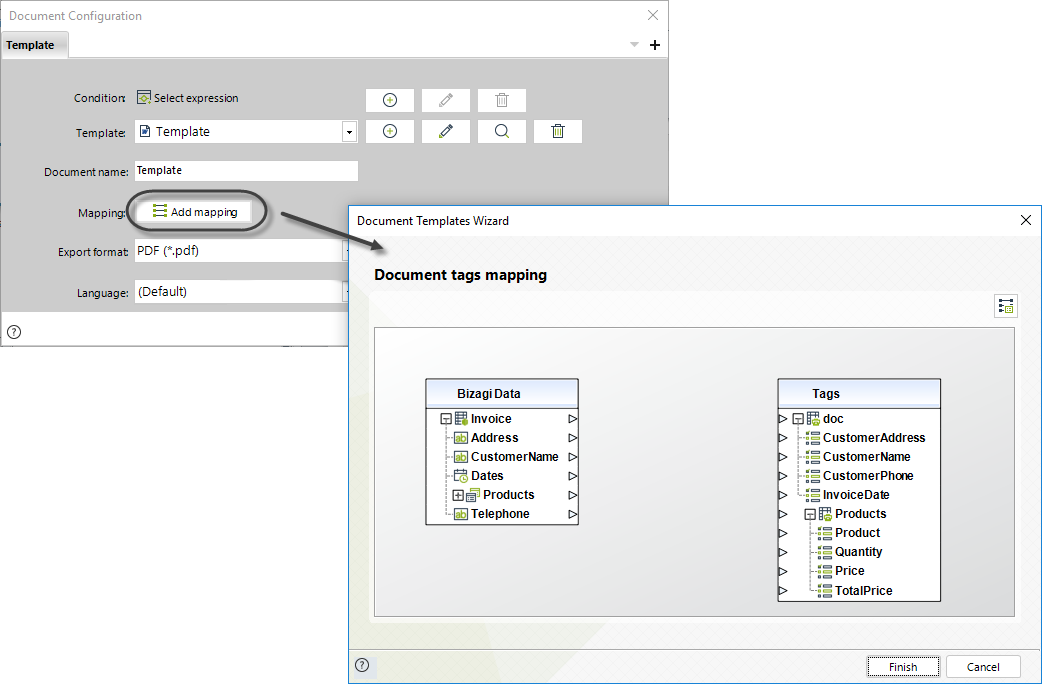
A new window will display.
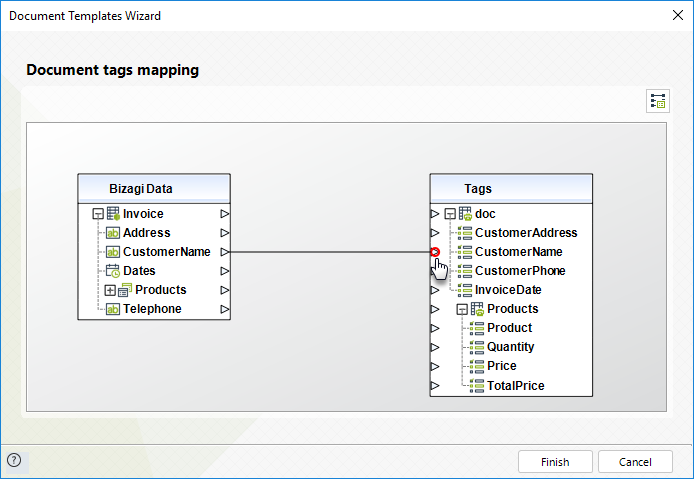
In this window you will find the attributes of the Process Data model on the left and the Template Tags on the right.
You can easily relate a Data source to a Tag by tracing a line between the desired elements.
To do so, click an element of the Data Model and then click the corresponding Tag. You can also drag and drop the relation. This procedure must be repeated for each tag.
When needed, Runtime entities information is available to be mapped, from the Case attribute, just above the Process entity.
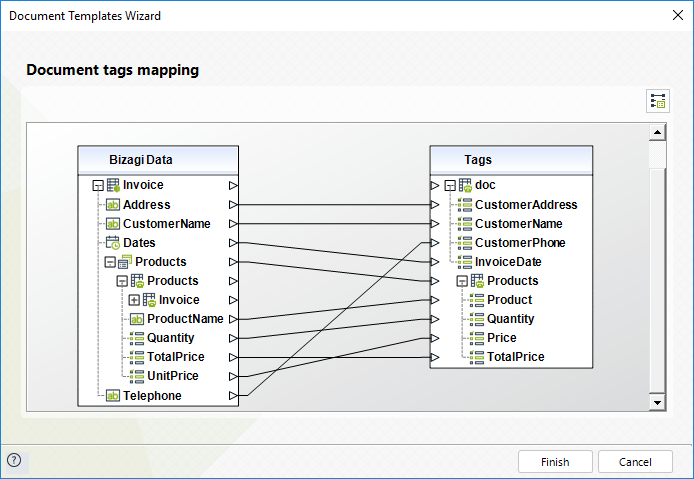
For the Invoice template this would be the complete mapping.
Note that in the Tags table a group of Products was created containing the values of the Products collection.
|
•You can include filtered collections, today's date and some case information to your mappings. Please refer to Advanced functions in mapping •When mapping collections (including Runtime entities) remember to map the collection node as well as the attributes within the collection •When mapping Parameter entities, expand their attribute nodes and map the Display Attribute. •When Bizagi generates a Document Template, and receives a date that has a null vale, it will not be shown in the final output. •When mapping the root node of the document temple, the following warning appears
|
4. Define the export format.
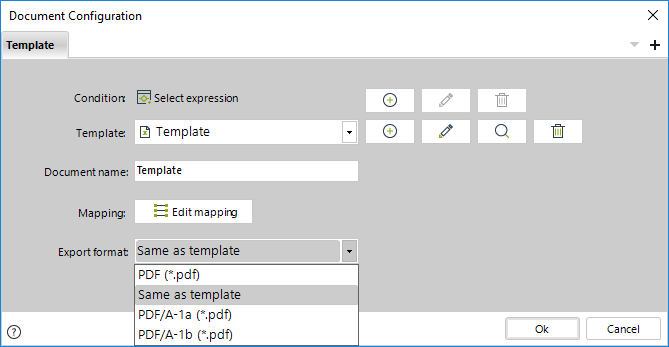
Select the format in which the generated document will be exported.
Available formats are:
•PDF: Exports the document in PDF format to make sure the aspect and structure of the original document is not modified.
•Same as template: Exports the document in the same format of the Template. Currently only .docx files are supported.
•PDF/A-1a, PDF/A-1b, PDF/A-2a, PDF/A-2b, PDF/A-3a, PDF/A-3b
For more information about PDF/A format visit https://www.pdfa.org/index-of-pdf-related-iso-publications
|
It is not possible to use Word templates that contain field codes to generate pdf files. |
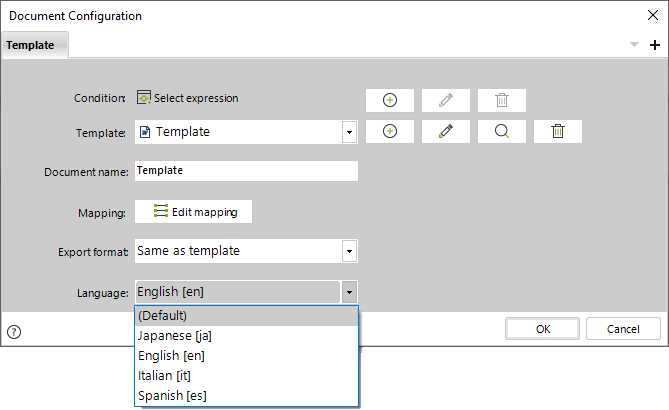
5. Finally, select the language for the tags in the template.
Generating a Word Document
Once configured you are ready to generate documents.
Go to the Work Portal and open the Activity where the document is generated.
Include the necessary information in the fields of the form. When finished click the Generate Document button.
If you generated automatically make sure the expression has been executed.
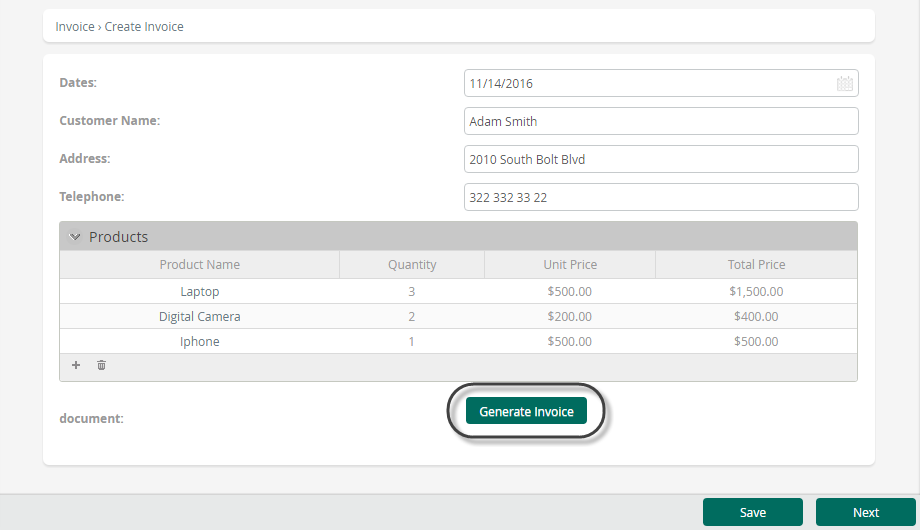
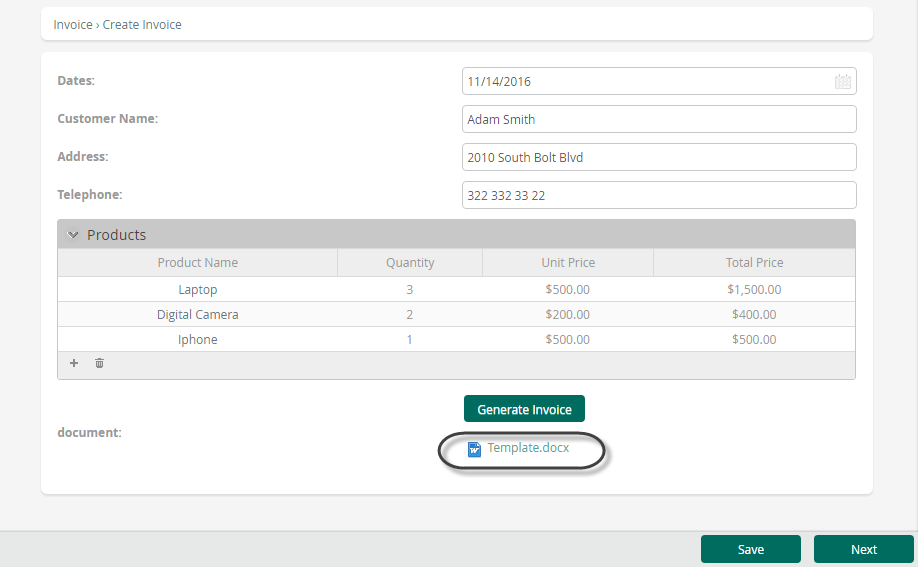
Once generated, click the document link to open it.
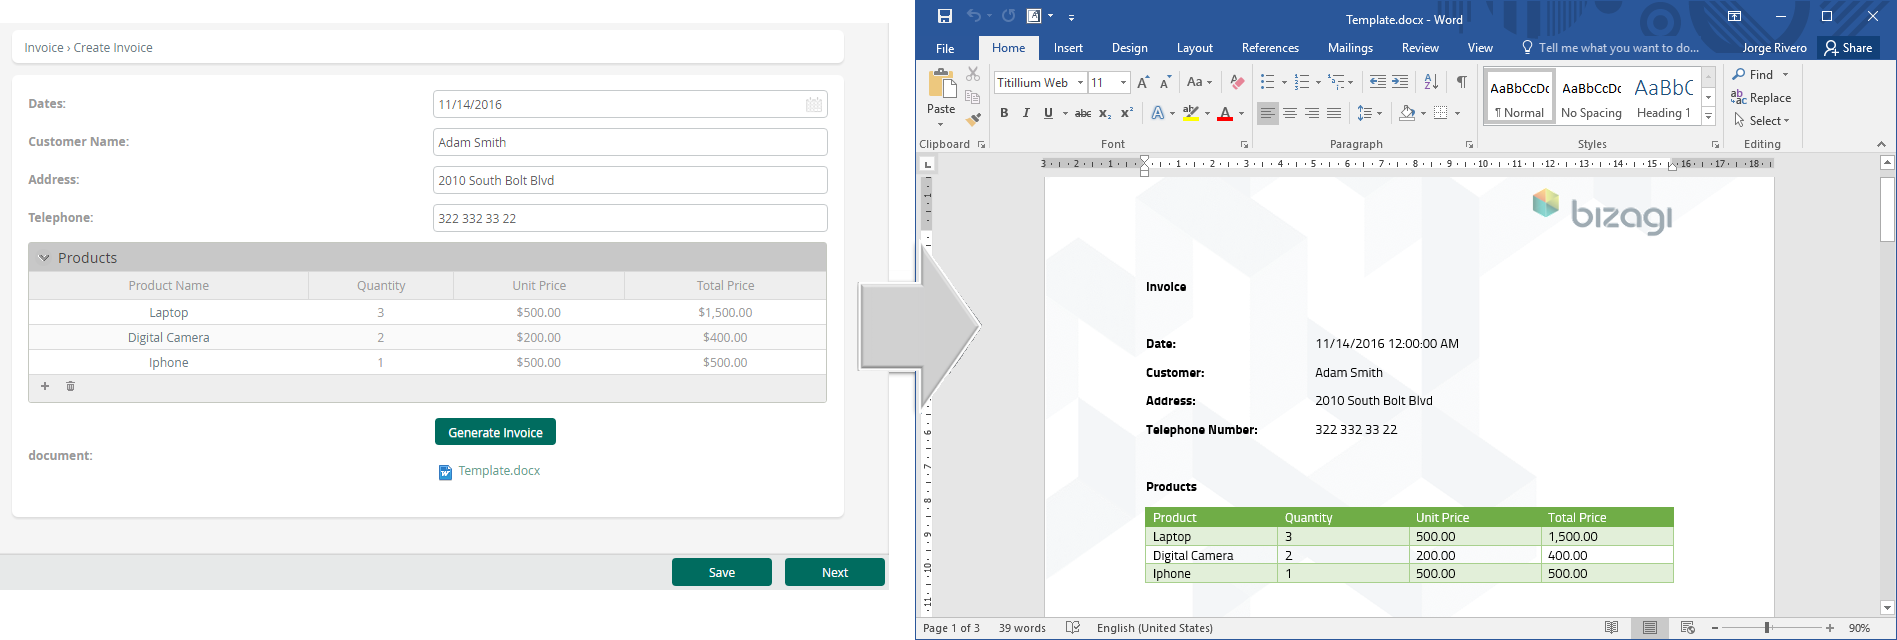
This is how the document looks. Note how the information entered in the Form is included.
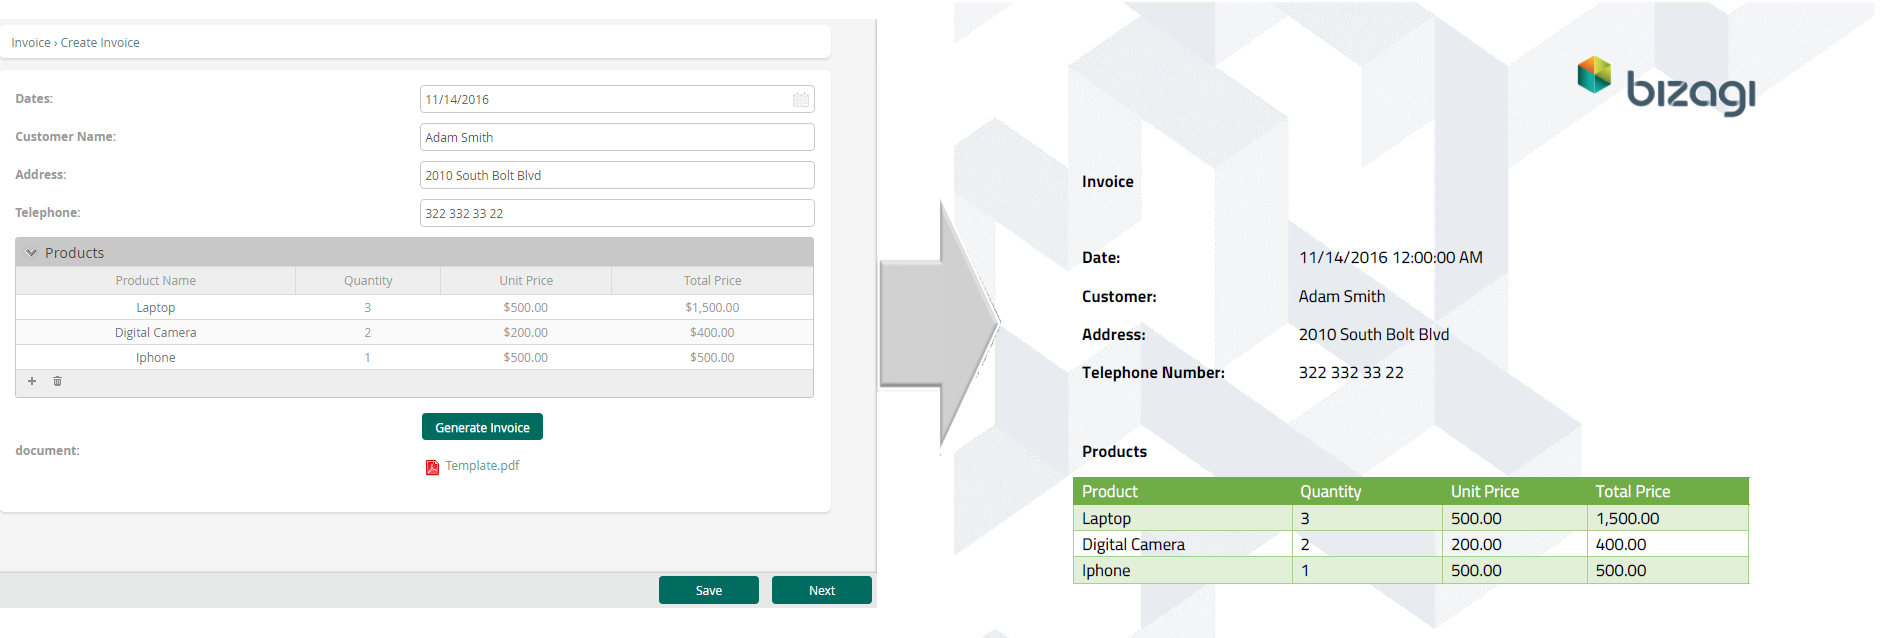
If you would had chosen PDF as export format, the document would look as follow:
|
If the Document template has unmapped tables, the output will display the Foreach tags that have been left empty. The Template must be mapped in Bizagi Studio. Example: [Foreach:Customer] [Name] [Phone] [End] When using the Foreach and End tags or phrases be sure to capitalize the first letter as specified. Otherwise, it will not be possible to identify the starting or ending point of the collection. |
Last Updated 7/14/2023 3:06:47 PM
