Overview
The following section covers the third step in your process deployment, as described in From Studio to the cloud.
When you use the Export Process option in the assisted process wizard, Bizagi extracts implementation details from your automated processes to create a file that can be installed into Automation Service environments (i.e. Test or Production).
Required profile
The person in charge of this step should be the project leader, and meets the following profile:
1.Has know-how and understands the concepts involved in a process deployment with Bizagi, including which objects are exported from the development environment, and all the steps of the deployment process.
2.Has an understanding of the business implementation: knowing about the processes and their purpose, the data model, versions, integration points, security and authentication settings, and other environment settings (e.g. policies, alarms, parameter entity values), and general workings.
3.Has planned, coordinated and scheduled the deployment, and has communicated this to all team members in the project.
This person does NOT need to be technically skilled because no programming is needed and no IT-related tasks are involved in process deployments. The person in charge performs all steps via a self-service UI.
At this point, the person deploying your application only needs access to the Development environment via Bizagi Studio.
Deployment package
The deployment package contains the processes you want to export to Bizagi Cloud.
To create the package, go to the seventh step of Bizagi Studio's Process Wizard and select the Export option.

A window appears with all the options you need to customize the content of the package.
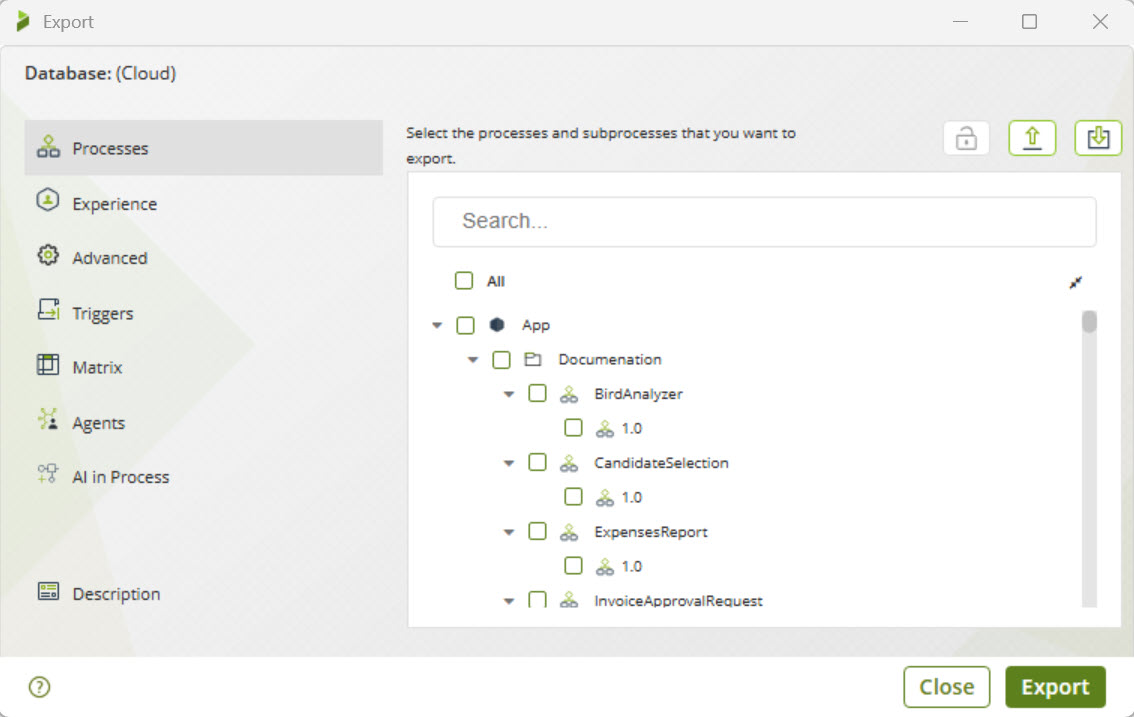
What you need to do
To create a deployment package:
1.Select the version of each process you want to include in the deployment.
2.Optionally, select additional objects to include in the package.
3.Optionally, include components from the Experience design.
4.Optionally, use the advanced options to deploy preset environment values.
5.Optionally, include the Triggers previously configured.
6.Generate the deployment package.
Procedure
The following images illustrate the creation of a deployment package that includes a single process.
1. Select the correct version of each process you want to deploy
Check the checkboxes of all process versions you want to include.
The processes are listed according to the applications these belong to, following your defined process architecture and hierarchy.
The example below simply considers the Ticket Reassignment process in its 1.0 version:
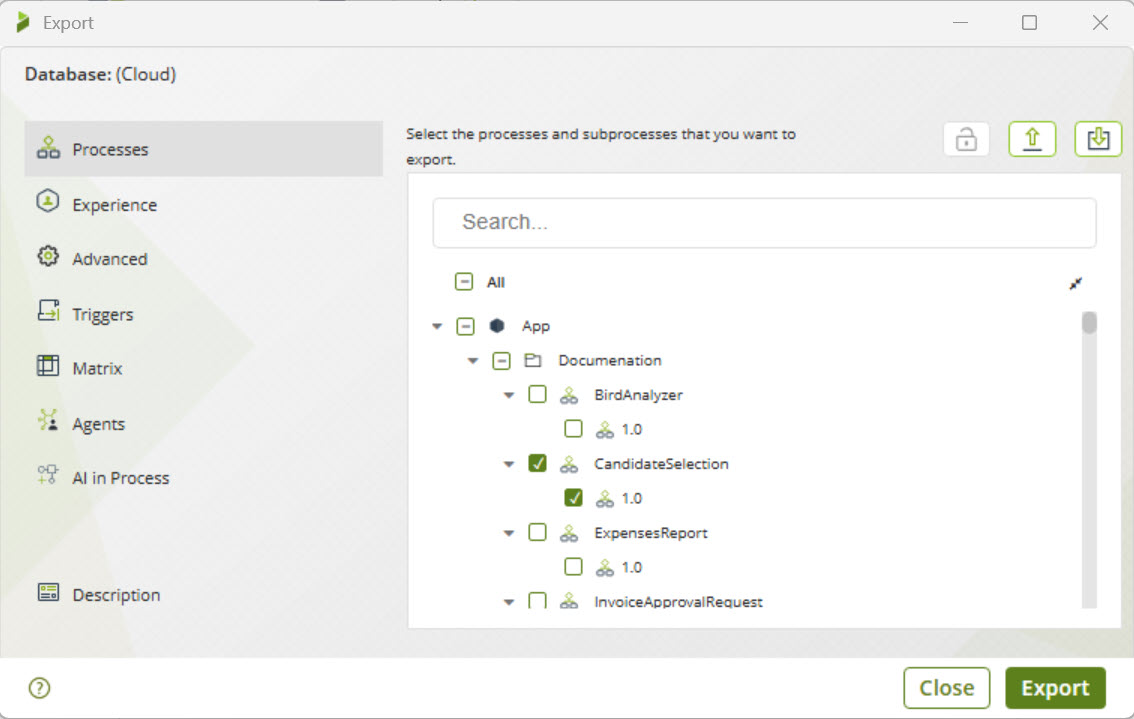
This let you leave out those processes which are still under development.
2. Optionally, bind additional objects to include in the package
This step is optional. Use it when you want to include objects such as specific entities, query Forms or business rules.
Before moving on, it is important to clarify that when you create a package, Bizagi engages its dependencies engine to validate that all objects (such as entities, forms or rules) used by the processes you selected are included within the package.
Similarly, Bizagi identifies the objects in the Development environment that the selected packages do NOT use, and does not include them in the package.
Only need to do this step, when you want to include certain objects which may not be required by the processes, but are needed in the Test and Production environments. You only need to include these objects in one export, unless you update them.
|
If you want to include additional objects not just in a one-time package, but in every export of the selected processes, you can use the Relate Objects option in Bizagi Studio. For more details, refer to the Related objects documentation. |
To include additional objects, right-click the correct version of a process you are including and select Define process dependencies.
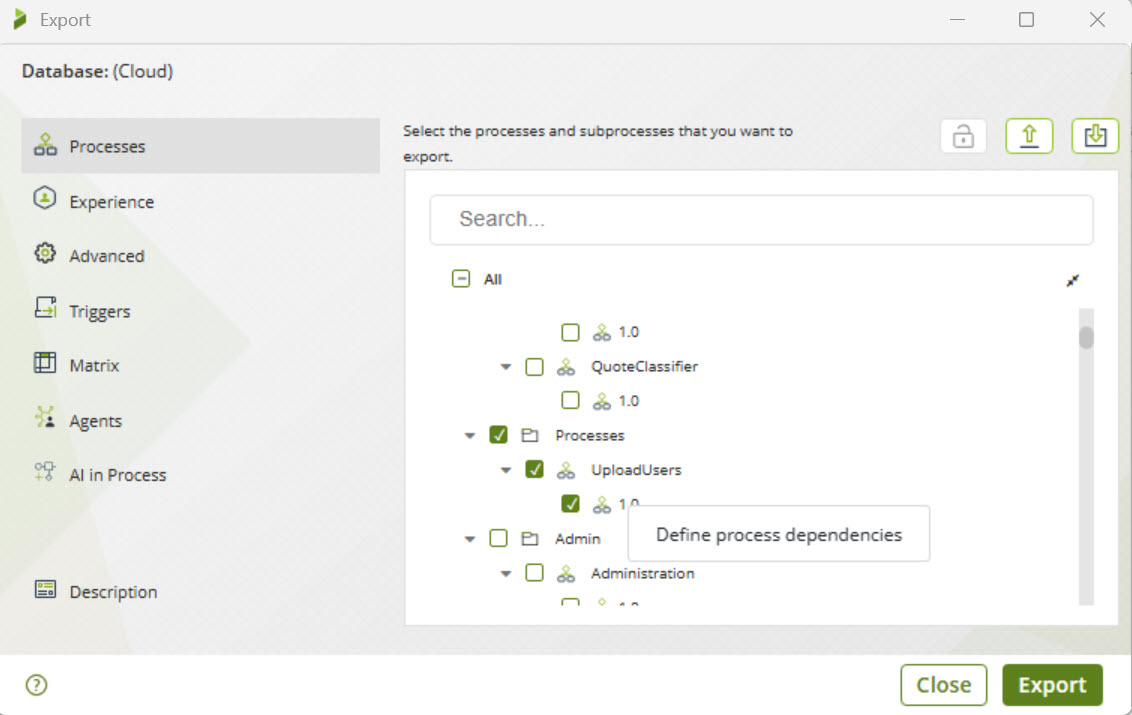
You can now browse the four available object categories: Entity components, Query forms, Business rules, Custom jobs and Vocabularies. Check the checkboxes of objects in those categories that you want to include in the deployment:
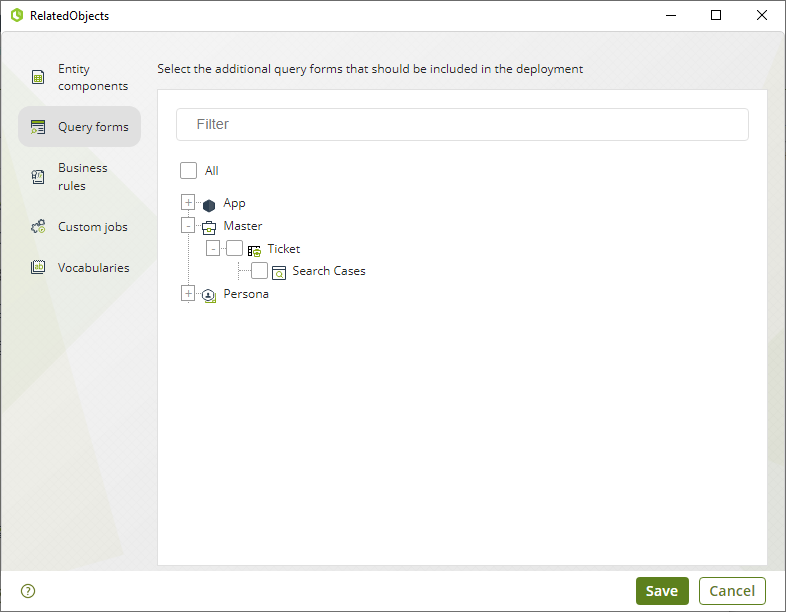
Click the Save button when you finished selecting the Related Objects.
|
Keep in mind that using functions such as getValueAsCollection and getXPath within a business rule, will not guarantee that the package automatically includes the attributes involved in those functions.
You may need to force the deployment to take an entity and its attributes, or possibly rely on explicitly including the following function so that your business rule becomes aware that the entity requires the attribute to satisfy its business rule: CHelper.usingAttrib("Entity Name","Attribute Name"); |
3. Optionally, include components from the Experience design
This step is OPTIONAL, in case you are using the Experience design features oriented to Personas in Bizagi. If so, click the Experience option to include the components in the package:
This option is available because Experience design components are decoupled from processes, and can be deployed separately without being bound to a specific process.
Check the checkboxes besides the components you want to deploy to explicitly include them.
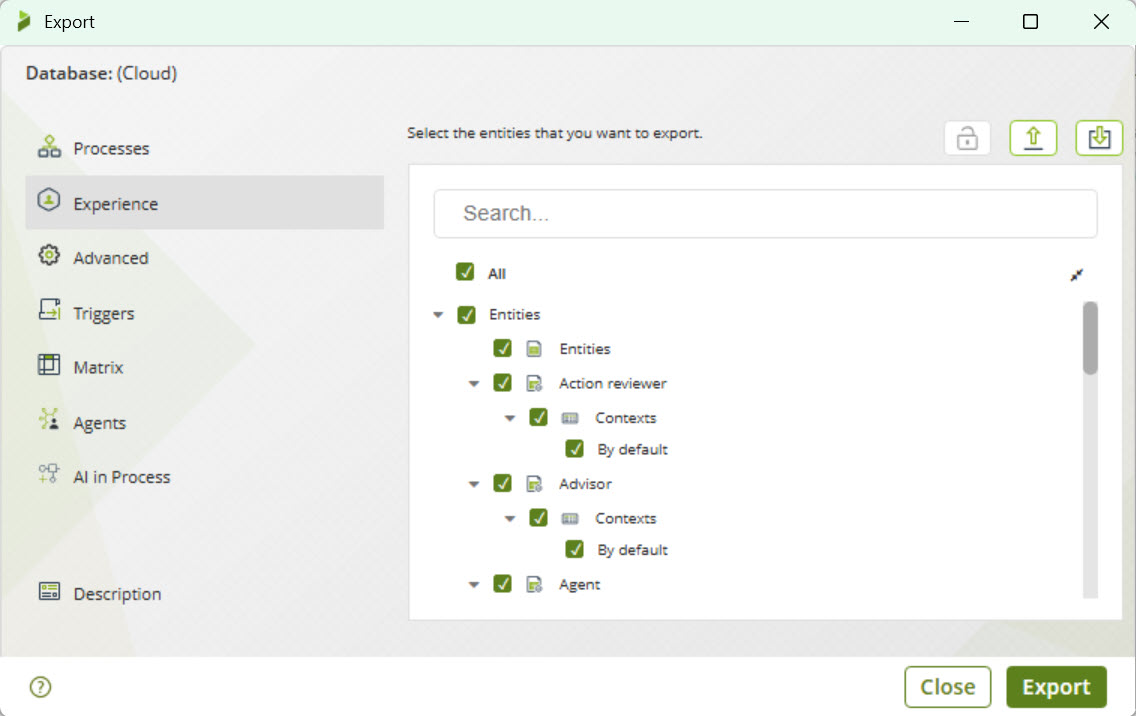
The table below lists all available components and indicates those which should be selected.
OBJECT |
VARIANT |
RELATED OBJECTS |
|---|---|---|
Collections (shown in My Stuff) |
Indirect Collections |
•Every related context. |
Direct Collections |
•Related entity. •Their context. •The process related if an Add button is configured. •The Personas and their related contexts if an Add button is configured. •Every entity used within the visibility expression (if used in an Add Button configuration). |
|
Actions |
Process |
•The related process. •Every related context. •Every entity used within the visibility expression (if used). •The entity where the action is defined. •The processes where the action can be launched. |
Form |
•The entity where the action is defined. •Every related context. •Every entity used within the visibility expression (if used). •The processes where the action can be launched from. |
|
Expression |
•The related expression. •The entity where the action is defined. •Every related context. •Every entity used within the visibility expression (if used). •The processes where the action can be launched. |
|
Contexts |
All but the "Always available" context |
•The related Persona. |
Searches |
|
•The related Persona. •The entity to search (this will deploy the search form as well). •The related contexts. |
Relevant to me |
|
•The related Persona. •The related process. •The related context. |
Triggers |
Process |
•The entity where the trigger is defined. •Every entity needed to correctly run the condition expression. •The related process, to be launched. |
Expression |
•The entity where the trigger has been defined. •Every entity needed to correctly run the condition expression and the trigger expression. |
|
Constructors |
Process |
•The entity where the constructor is defined. •The related process. •Every related context. •Every entity used within the visibility expression (if used). |
Form |
•The entity where the constructor is defined. •The related expression. •Every related context. •Every entity used within the visibility expression (if used). |
4. Optionally, use the advanced options to deploy preset environment values
Use this optional step if you want to modify the default treatment of certain records that Bizagi includes in the package.
This treatment is specially applicable to the very first deployment. Remember that once an environment (i.e. testing or production) has deployed processes in it, it will no longer be a first deployment but an incremental deployment.
Click Advanced review what records go included in the package:
Make sure you leave ticked have checked the checkboxes of records you want to include in the deployment (and leave unmarked those that you don't want to deploy):
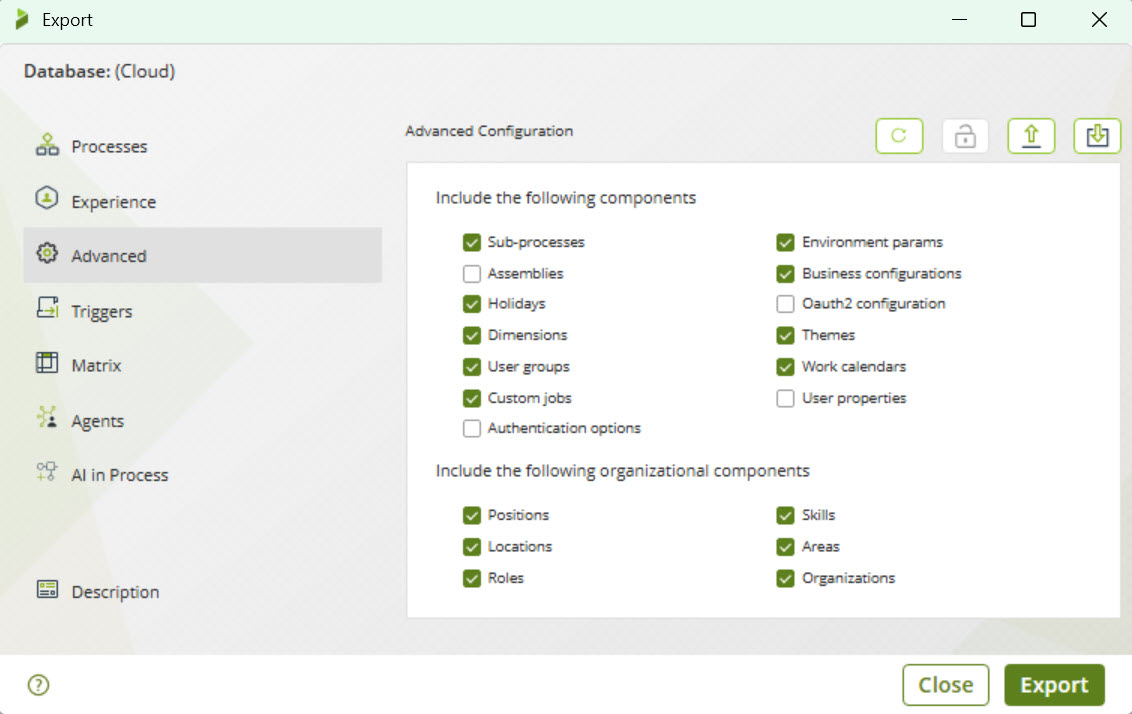
|
•When you include environment parameters make sure these parameter values such as the SMTP server and interfaces URL, correspond to their environment configuration. When you deploy the package with these settings, the target environment's parameters will be overwritten. •If you include the Authentication options, the authentication configured in the target environment will be overridden. Do not use this option unless you are sure to change the authentication options with the configuration of your source environment. |
5. Include the Triggers
In this tab, you can select the previously configured triggers to be included in the deployment to the target environment. These can be email triggers or cloud file storage triggers. You can choose triggers by Trigger type node or by each individual trigger.
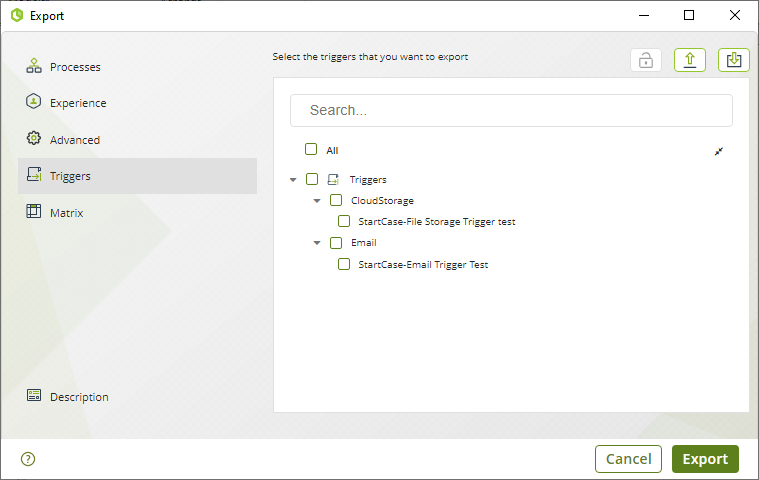
Note: Check the AI in Process (Management Console) documentation for information on exporting a deployment package from Studio to the Management Console for use in AI in Process.
6. Generate the deployment package
When you are ready, click the Export button to generate the deployment package:
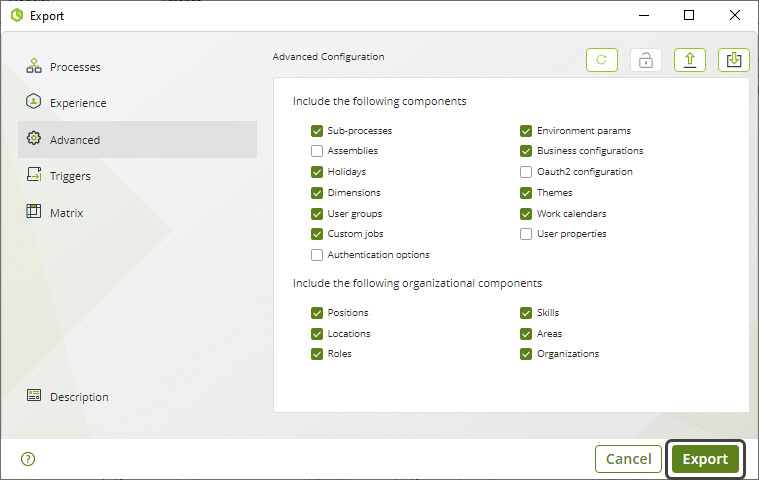
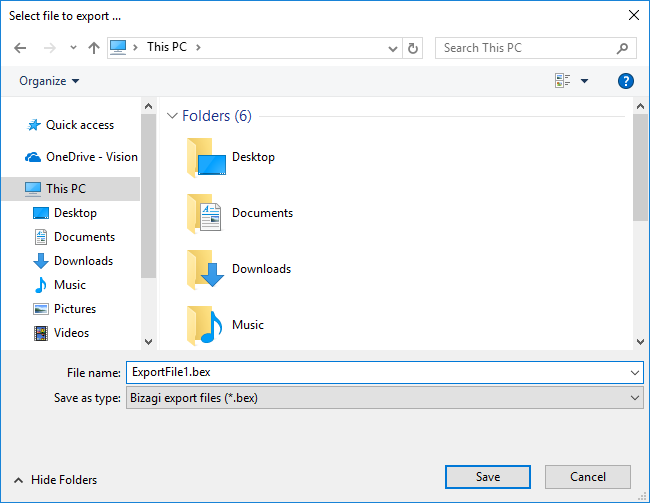
The deployment package has a .bex file extension.
The system will ask you to name the package and indicate where to save the .bex file in your local system:
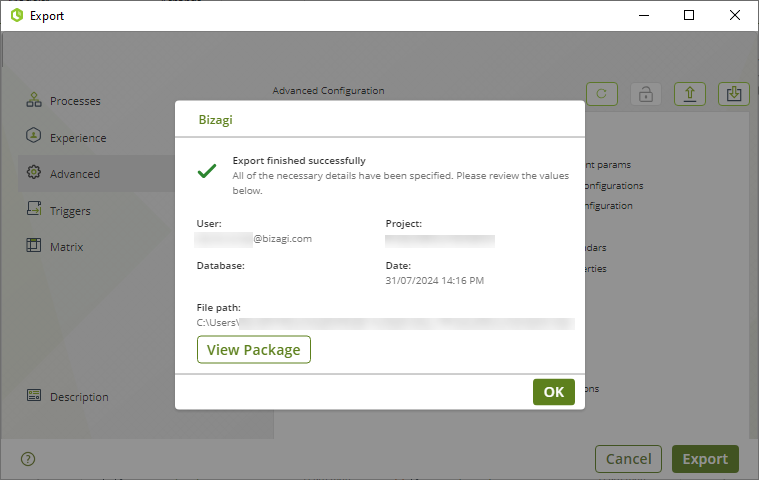
The system tells you when the export is complete:
|
When a parameter entity managed in Production is considered in the deployment package, all of its attributes and relations are included, even unused ones. |
What should I do next?
Once you have the .bex package, you can to deploy it to your chosen Automation Service environment.
For information about the next step, refer to Importing processes.
Last Updated 11/20/2025 9:25:56 AM