Overview
This section shows you how to create forms for your Live Process tasks, and provides a reference guide to the controls and options available when designing the UI for a process created through the Live Processes feature.
For basic information about how to access Live Processes, refer to Designing Live Processes.
UI elements in the Forms Designer
The Forms Modeler's Ribbon presents a set of commands that are relevant to the form as a whole, for example Save, Copy from, Copy format and Form Properties. It also shows contextual commands, which are related to the current Control selected in the form, such as Editable, Visible and Required.

MENU OPTION |
SUB OPTION |
DESCRIPTION |
|---|---|---|
Form |
Undo |
Undo the last action performed in the Form. |
Redo |
Redo the last action. |
|
Save |
Save all changes performed in the Form. |
|
Copy from |
Provide access to previously created Forms to copy their exact content. For more information, refer to Using Copy From. |
|
Copy format |
Copy the given format of a Control to apply it to another. |
|
Properties |
Provide access to the Form properties. |
|
Show |
Warnings |
Highlight the errors and warnings of the Form as a whole or for individual Controls. |
Form Buttons |
Allows you to customize the default buttons (Save and Next buttons). For more information, refer to Form Buttons. |
|
Controls |
Delete |
Delete the selected Control. |
Rename |
Change the display name of the selected Control. |
|
Visible |
Manage the visibility of the selected Control. |
|
Editable |
Manage the editability of the selected Control. |
|
Required |
Stipulate if the selected Control is mandatory or optional. |
Bizagi offers a set of default controls that you can use to create the attributes related to your process.
The controls available here have most of the options of the controls delivered by Bizagi Studio. Refer to Form Controls for more information.
CONTROL |
DESCRIPTION |
|---|---|
Combo |
Presents a drop-down list that displays a set of values. Set the values for this combo using the Data source attribute by clicking the
When defining the values, you have available the following options: •Bizagi Entities: lets you provide the name of the Bizagi entity to be selected. Bizagi will display all entities available in the Project (created in Studio). For more information refer to Entities for Live Processes. •Create Values: this option lets you create new values. It opens the Predefined Values window where you can add as many values as you need. Click on the Add value button whenever you want to add a value to the list.
|
Date |
Shows a calendar. Times can be included if defined. |
File uploads |
Lets end users upload files. Each File attribute is handled as a collection to associated multiple files with the attribute. |
Image |
Enables the upload and display of images. |
Label |
Presents fixed text strings with no relation to the process's attributes |
Link |
Presents a link that redirects to a URL (intranet or internet). The Link execution property can be a fixed URL or an attribute the process's data model. If you want to use an attribute, remember to save the form before configuring the Link control. |
Money |
Displays currencies. |
Number |
Displays numbers. |
Suggest |
Searches over all Bizagi Entities created in Studio, and proposes a data entry as the user enters the text. The Bizagi Entity should be defined in the Data source attribute by clicking the |
Table |
Presents a table that relates to a Collection attributes. The table must contain at least one column for display. |
Text box |
Presents a user interface where the user can enter text. |
Yes/No |
Displays a Boolean attribute for the end user to select between Yes and No options. |
 icon.
icon.
Furthermore, Live Processes offers the same containers and layouts available in Bizagi Studio.
Creating forms for Live Processes Tasks
Bizagi uses a Forms Designer that with a what-you-see-is-what-you-get (WYSIWYG) interface, meaning that you can build a form and see exactly how it will display to end users.
All controls included in a Form can be reused within the same process, since a data model is created.
Click the activity where you want to create the Form, select the Form Designer icon in the Pie Menu.

The Forms Designer displays. If there is no Form previously built, the Forms Designer shows a blank display area.
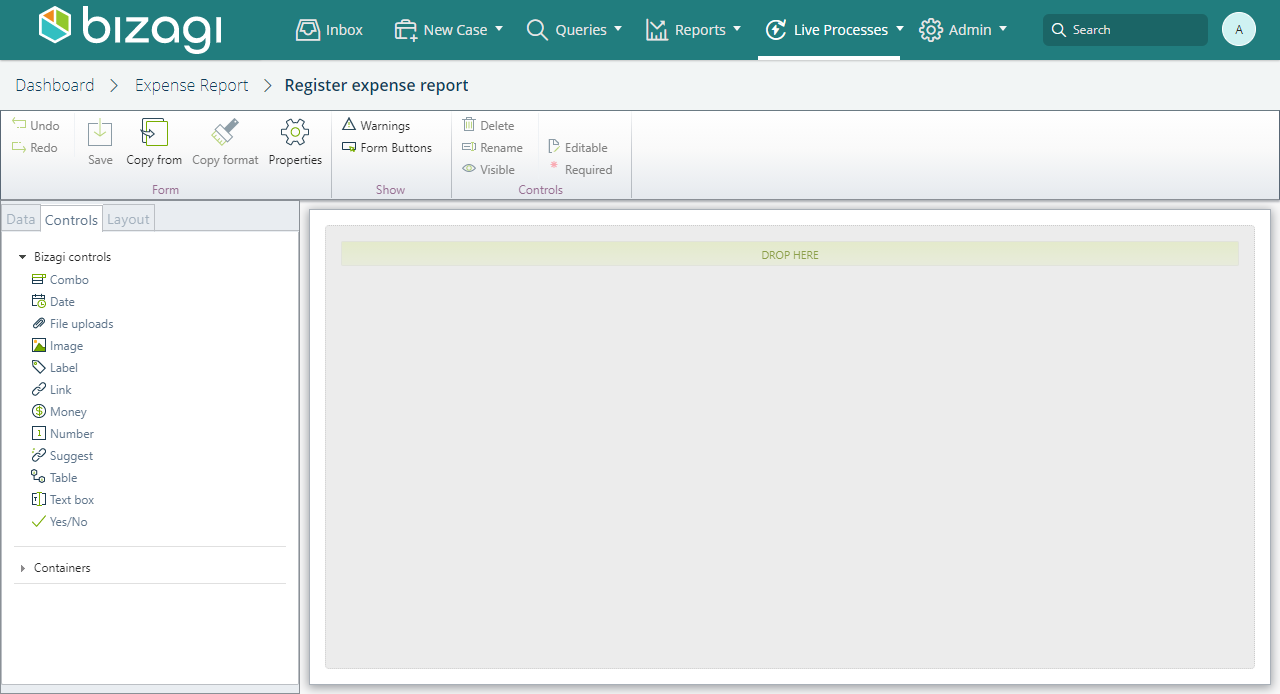
On the Controls tab of the left panel are controls you can drag and drop into your Form. You can also double-click the control you want to add.
Each control you include is saved in the process's data model once you save the form, and is available for all other User tasks and Intermediate Events within the same Live process.
In the Layout tab you can find Tabs, groups and Layouts that help you achieve the desired look and feel of the Form.
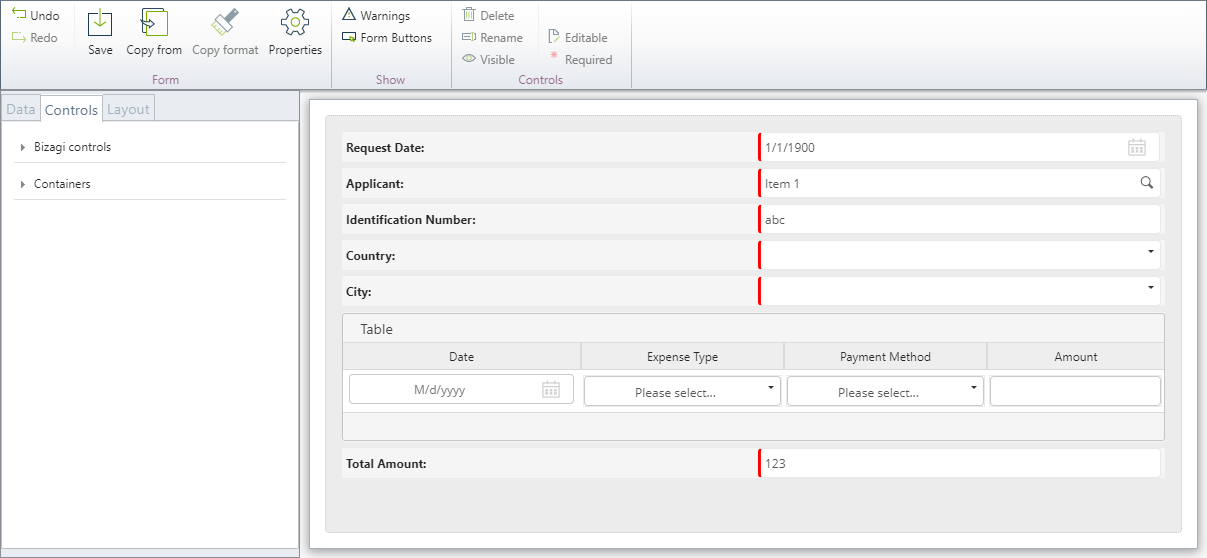
Give each control display name before saving it. To change the display name double-click the control's label on the form, or select the control and set its display name in the control's properties.

When all controls you need in the Form, click Save.
As soon as you save the form, you can see the controls added to the form in the Controls tab of the left panel and the Data Model becomes available in the process, you can use these controls in other activity forms, use them to set conditional flows or you can use them to configure your Email tasks.
The Data property of each control corresponds to its xpath, you can use the icon  to see its name.

The name is generated automatically from the display name of the control; nevertheless, you can set a unique name as you want, special characters you type are discarded.

If you change the name of the Data property of an attribute created in other task, when saving the form, Bizagi creates a new attribute of the same type.
Default value for Live Processes controls
The Default value property automatically sets a value when the form opens for the first time in the Work Portal. This property is used when a Control typically expects a value and is helpful as it saves the end user some clicks.
Default value property is displayed for the following Controls:
•Combo: in the Basic tab, set a default value by typing two characters in the field to find the value in the Bizagi entity or in the set of values defined.

You can edit the value by clicking the property or delete it using the x icon at the right of the field.
•Date: in the Advanced tab, set a default value using a fixed date.
•Money: in the Advanced tab, set a default value entering a fixed number.
•Number: in the Advanced tab, set a default value entering a fixed number.
•Text box: in the Advanced tab, set a default value entering a fixed text
•Yes/No: in the Advanced tab, set a default value selecting "Yes" or "No" in the combo displayed. You can edit the value by clicking the property or delete it using the x icon at the right of the field.
When a value is selected in the Date, Money, Number or Text controls, you can edit it by clicking the property or the Edit ( ) icon. To delete it by clicking the Delete icon (
 ).
).
Take care in deletion since Bizagi does not prompt to confirm deletion. However, you can always click Undo if you delete a default value in error.
Summary forms for Live Processes
You can define a Summary Form which displays when the case is finished or when a process is searched and there are no pending activities for the user, by clicking on the Summary Form button located at the top right corner of the Drawing Area dashboard.

What's next?
When you have completed the design of your forms, you need to define the notifications available or set the conditional flows to model business behaviors.